Update July 2023: The setup instructions below work with Raspberry Pi OS (Legacy) based on Debian 10 (buster). For instructions that will work with Raspberry Pi OS based on Debian 11 (bullseye), please have a look at my updated blog post here.
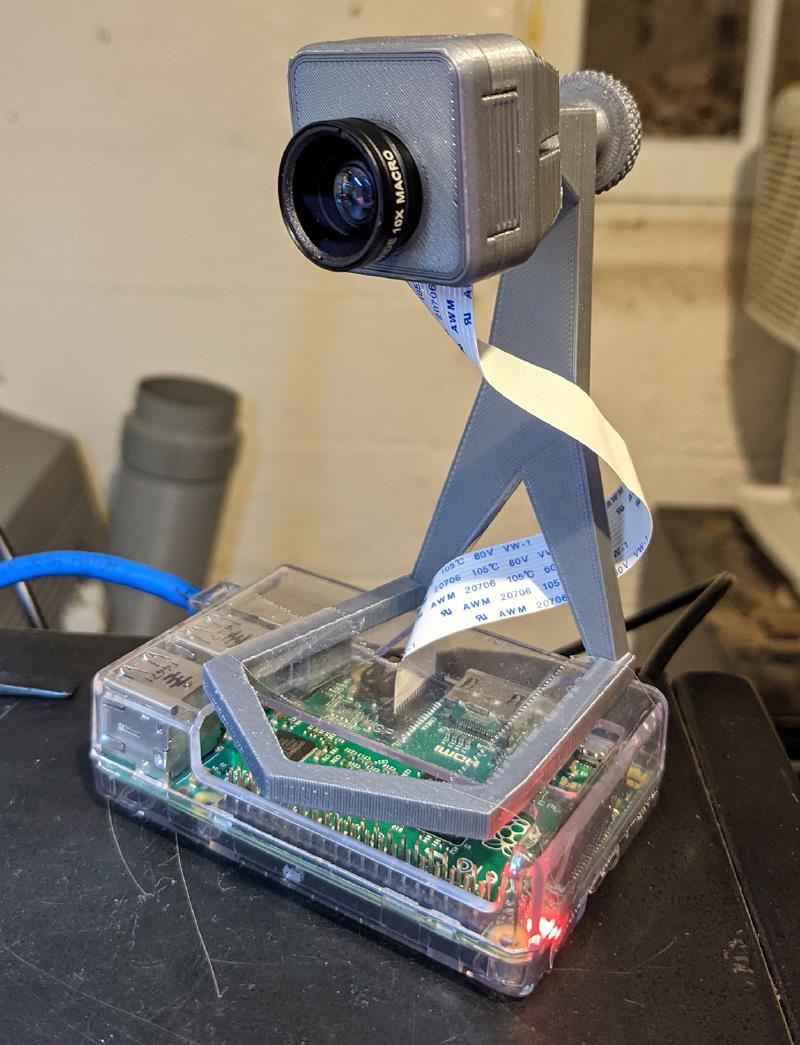
I was looking for a way to stream two H.264 video feeds from an old Raspberry Pi 2 and Raspberry Pi Camera Module with the first feed being the highest resolution that I could achieve from the camera and the second being a lower resolution that would be more suitable for analysis. To monitor the Pi Camera and perform motion and AI object detection with a Frigate NVR system, I wanted the feeds served from an RTSP server.
Below are my setup notes for the solution I put together using rtsp-simple-server, gstreamer and the picamera python library.
1.) Start with a clean install of Raspberry Pi OS Lite (Raspbian 10)
2.) Install deb packages
|
|
3.) Edit /boot/config.txt and add the following two lines at the bottom to enable the camera and increase GPU memory
|
|
4.) Create and edit /root/picam_stream.py
Depending on your application you might want to adjust some of the picamera library parameters. It’s a good idea to first read up on the camera sensor modes to understand the relationships between Resolution, Frame rates and Field of View.
Keep in mind the following GPU limitation:
The maximum horizontal resolution for default H264 recording is 1920 (this is a limit of the H264 block in the GPU). Any attempt to record H264 video at higher horizontal resolutions will fail.
It’s also good to read up on the MMAL pipeline documentation to understand how the capture ports work.
In the example above I’m using 3 out of the possible 4 capture ports.
Port 0 is used for the still image capture that is updated every few seconds.
Port 1 is used for the highest resoltuion h264 stream.
Port 2 is used for the resized lower resolution stream.
The commented out camera.zoom = (0.0, 0.1, 1.0, 0.75) option is helpful if you are trying to get a 1920x1080 resolution video using the full width of the sensor.
You’ll need to use the 3280x2464 camera resolution at 15 FPS, the zoom option and then resize one of the ports to 1920x1080.
5.) Download and extract rtsp-simple-server.
|
|
6.) Edit the /usr/local/etc/rtsp-simple-server.yml configuration.
The main thing that needs to be changed is the section under paths:
|
|
Additionally I’ve disabled RTMP and HLS support since I don’t need it.
My complete config is available in the GitHub Gist.
Then enable and start the systemd service:
|
|
7.) Access the RTSP stream.
If everything goes well you should be able to access two streams at the following URLs:
rtsp://IP_Address_OF_PI:8554/hqstream and
rtsp://IP_Address_OF_PI:8554/lqstream
Some additional optional steps
-
Disable swap
apt remove dphys-swapfile -
Save logs to RAM disk to reduce SD card writes.
Install log2ram -
Install nginx to serve jpg snapshot
|
|
