Over the last few years I’ve spent a considerable amount of time working with the Prometheus monitoring system and time series database in combination with the Grafana visualization platform.
I had been wanting to track the temperature and humidity of a few rooms and was looking for an excuse to run a Prometheus server at home.
I thought it would be neat to use a Wi-Fi microcontroller to collect this sensor data and expose it directly in the Prometheus simple text-based exposition format.

Electronics
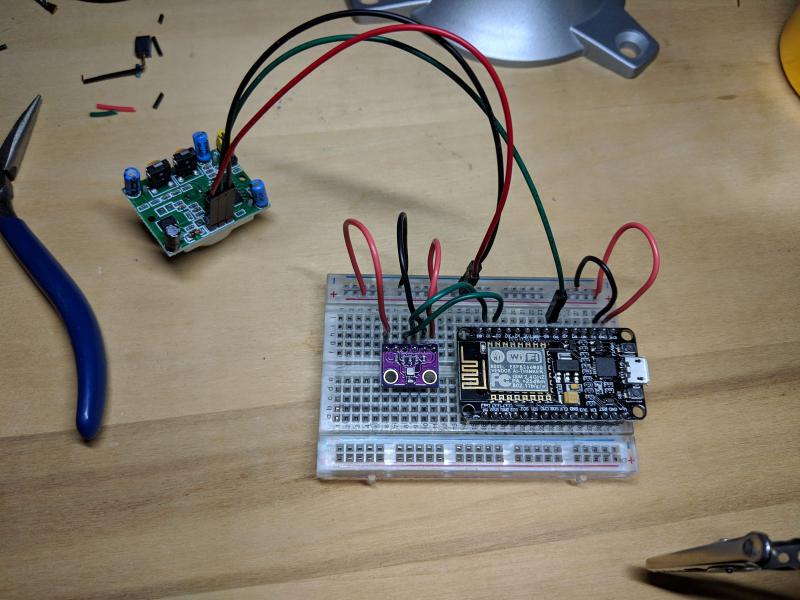
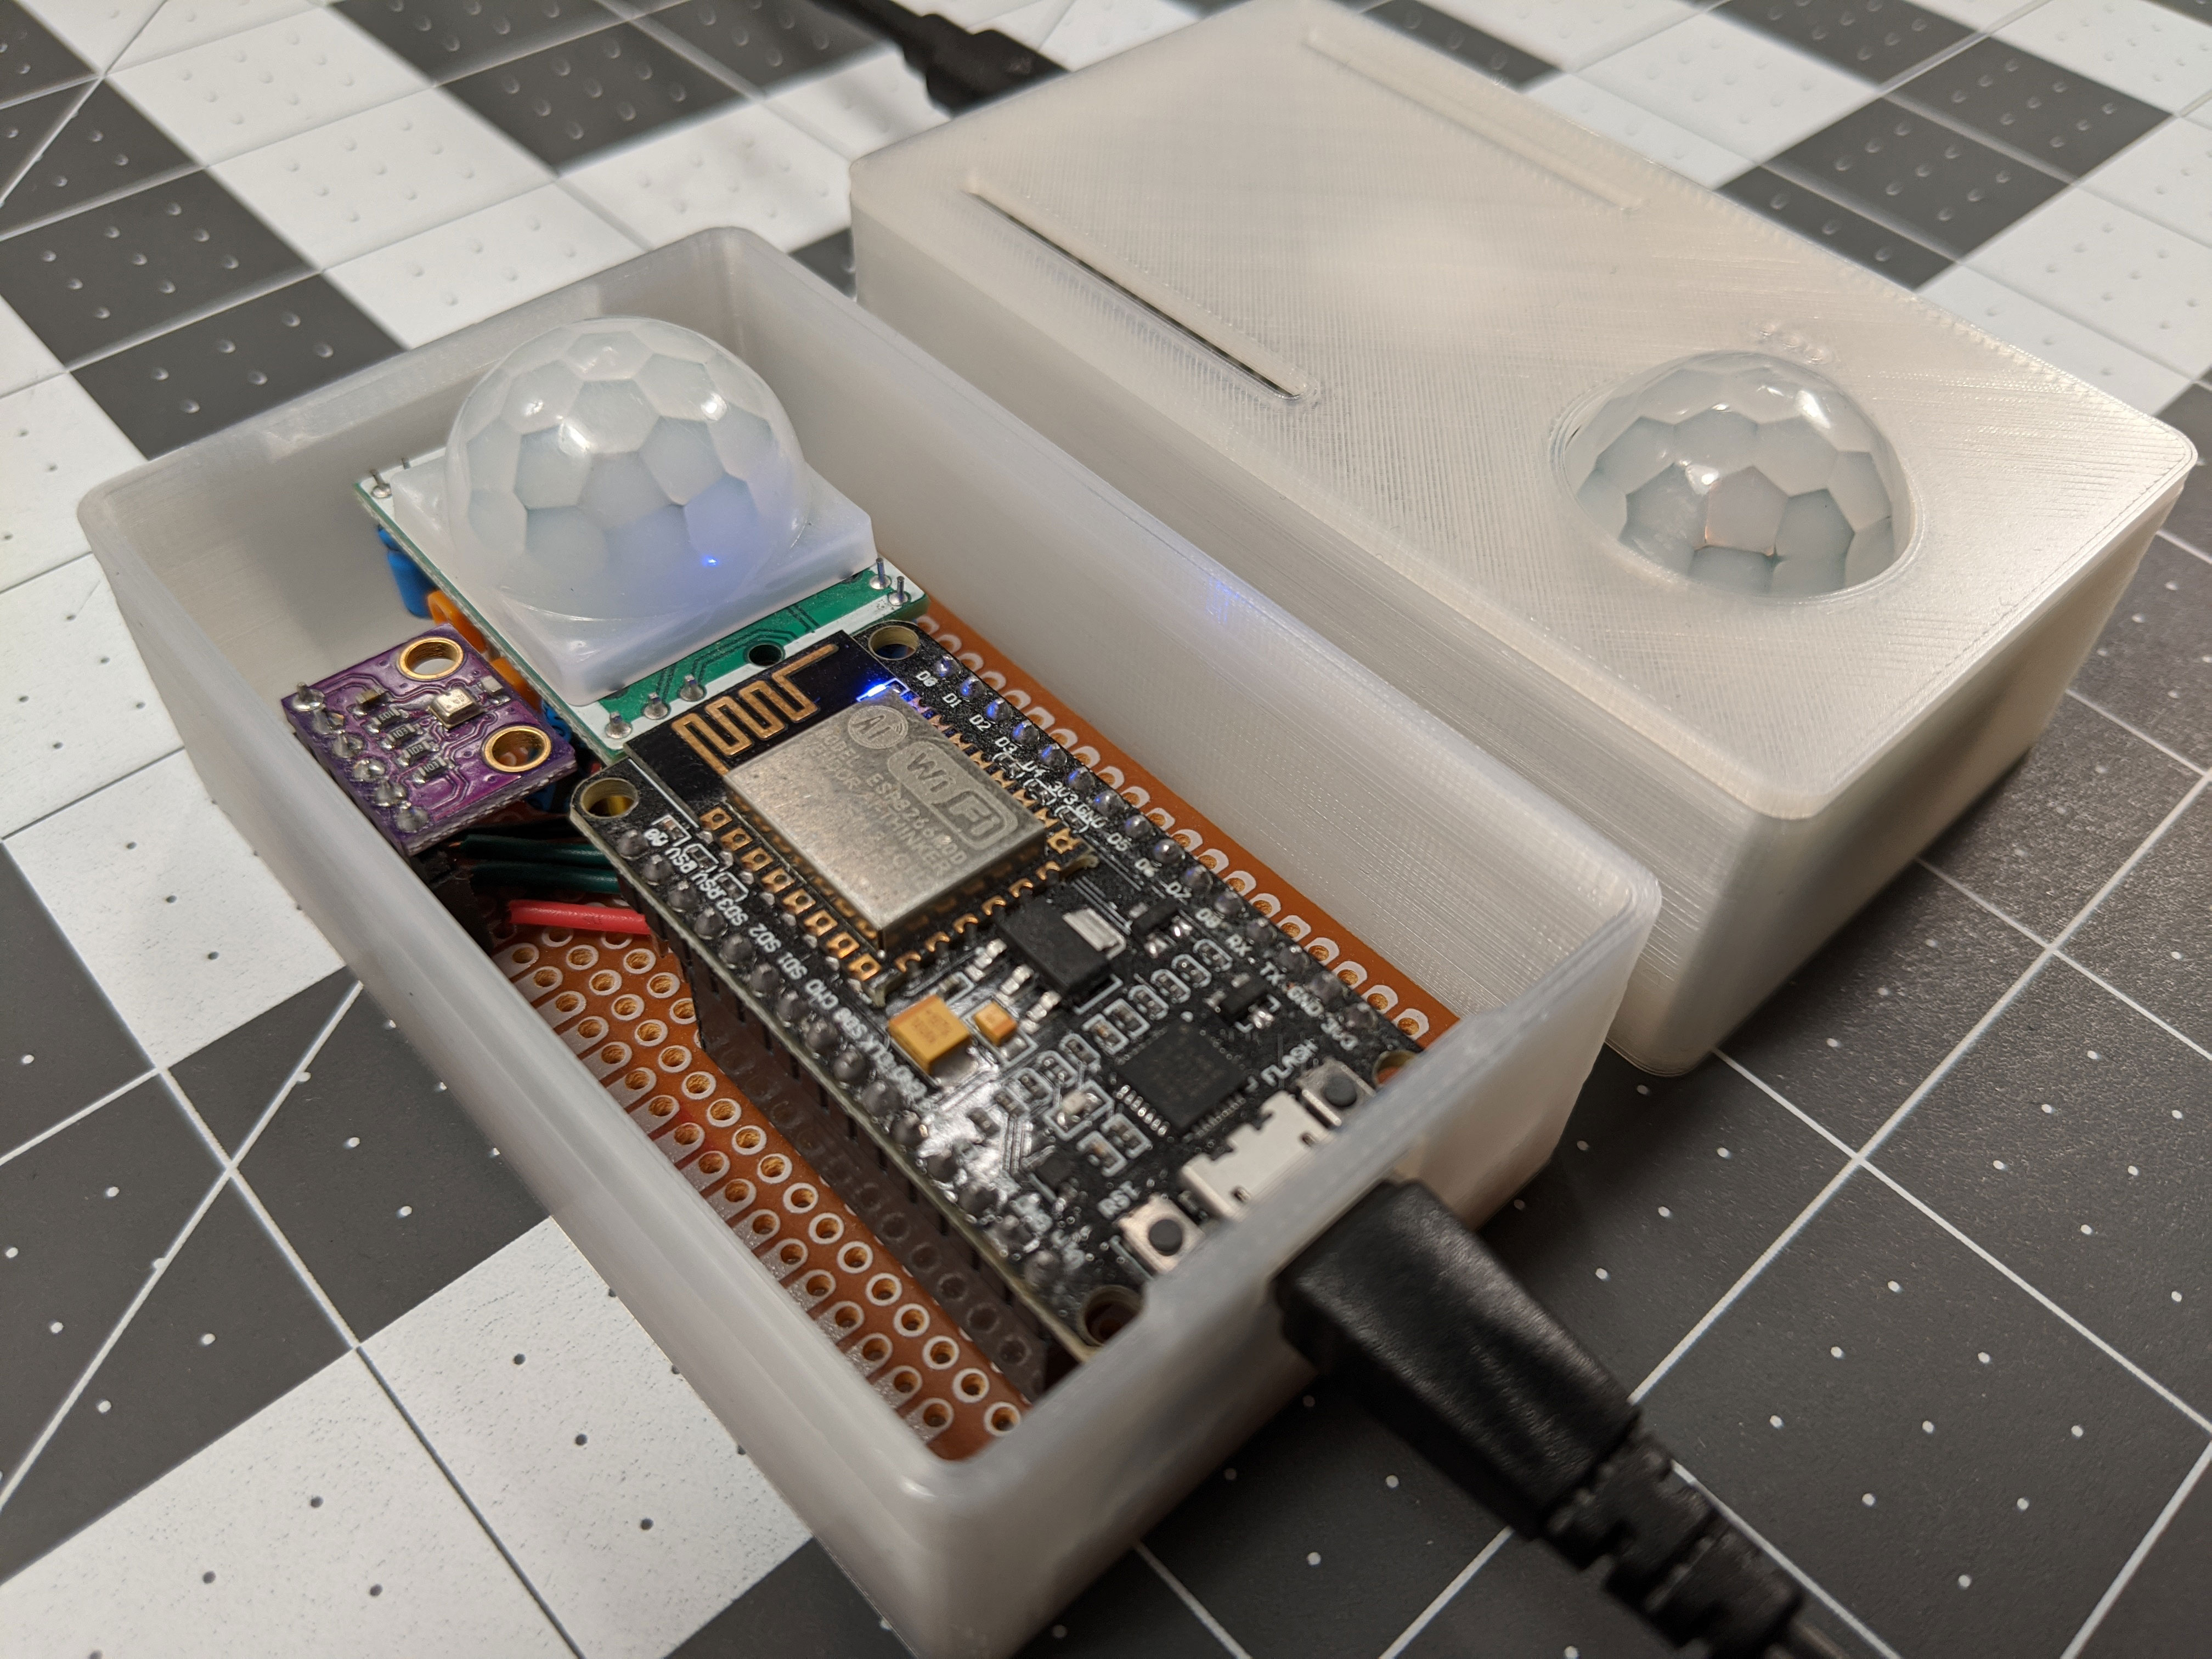
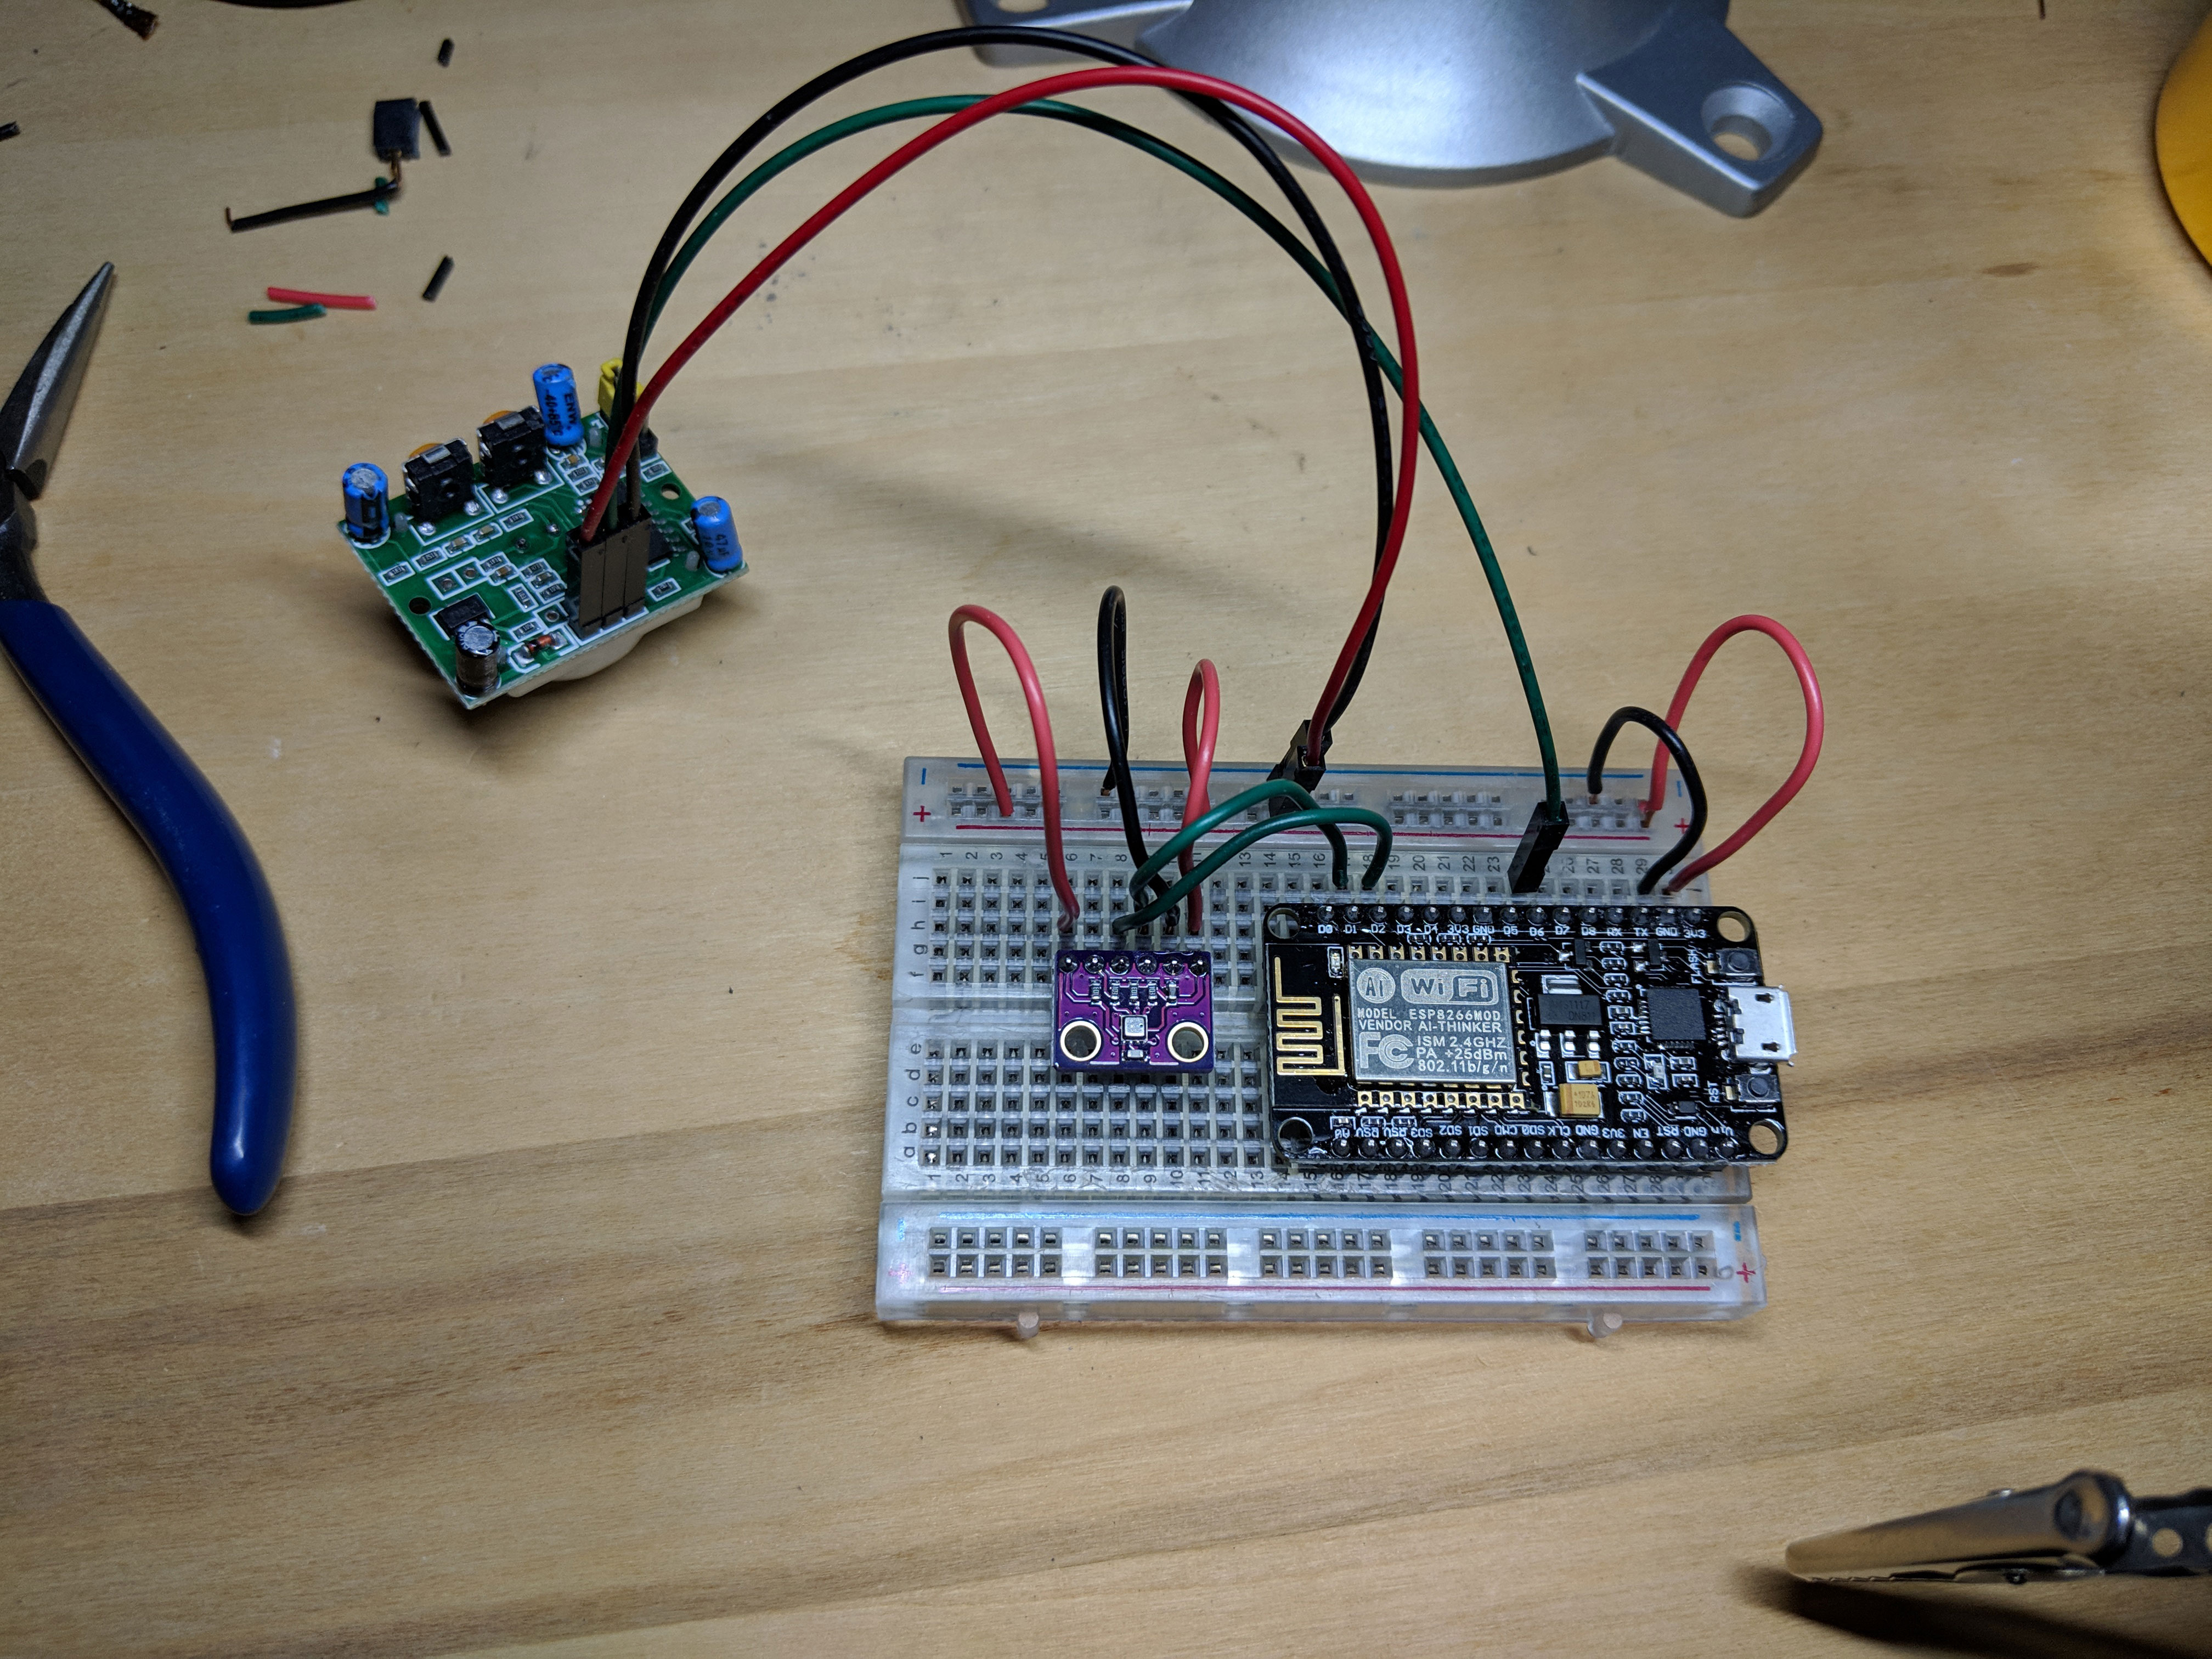
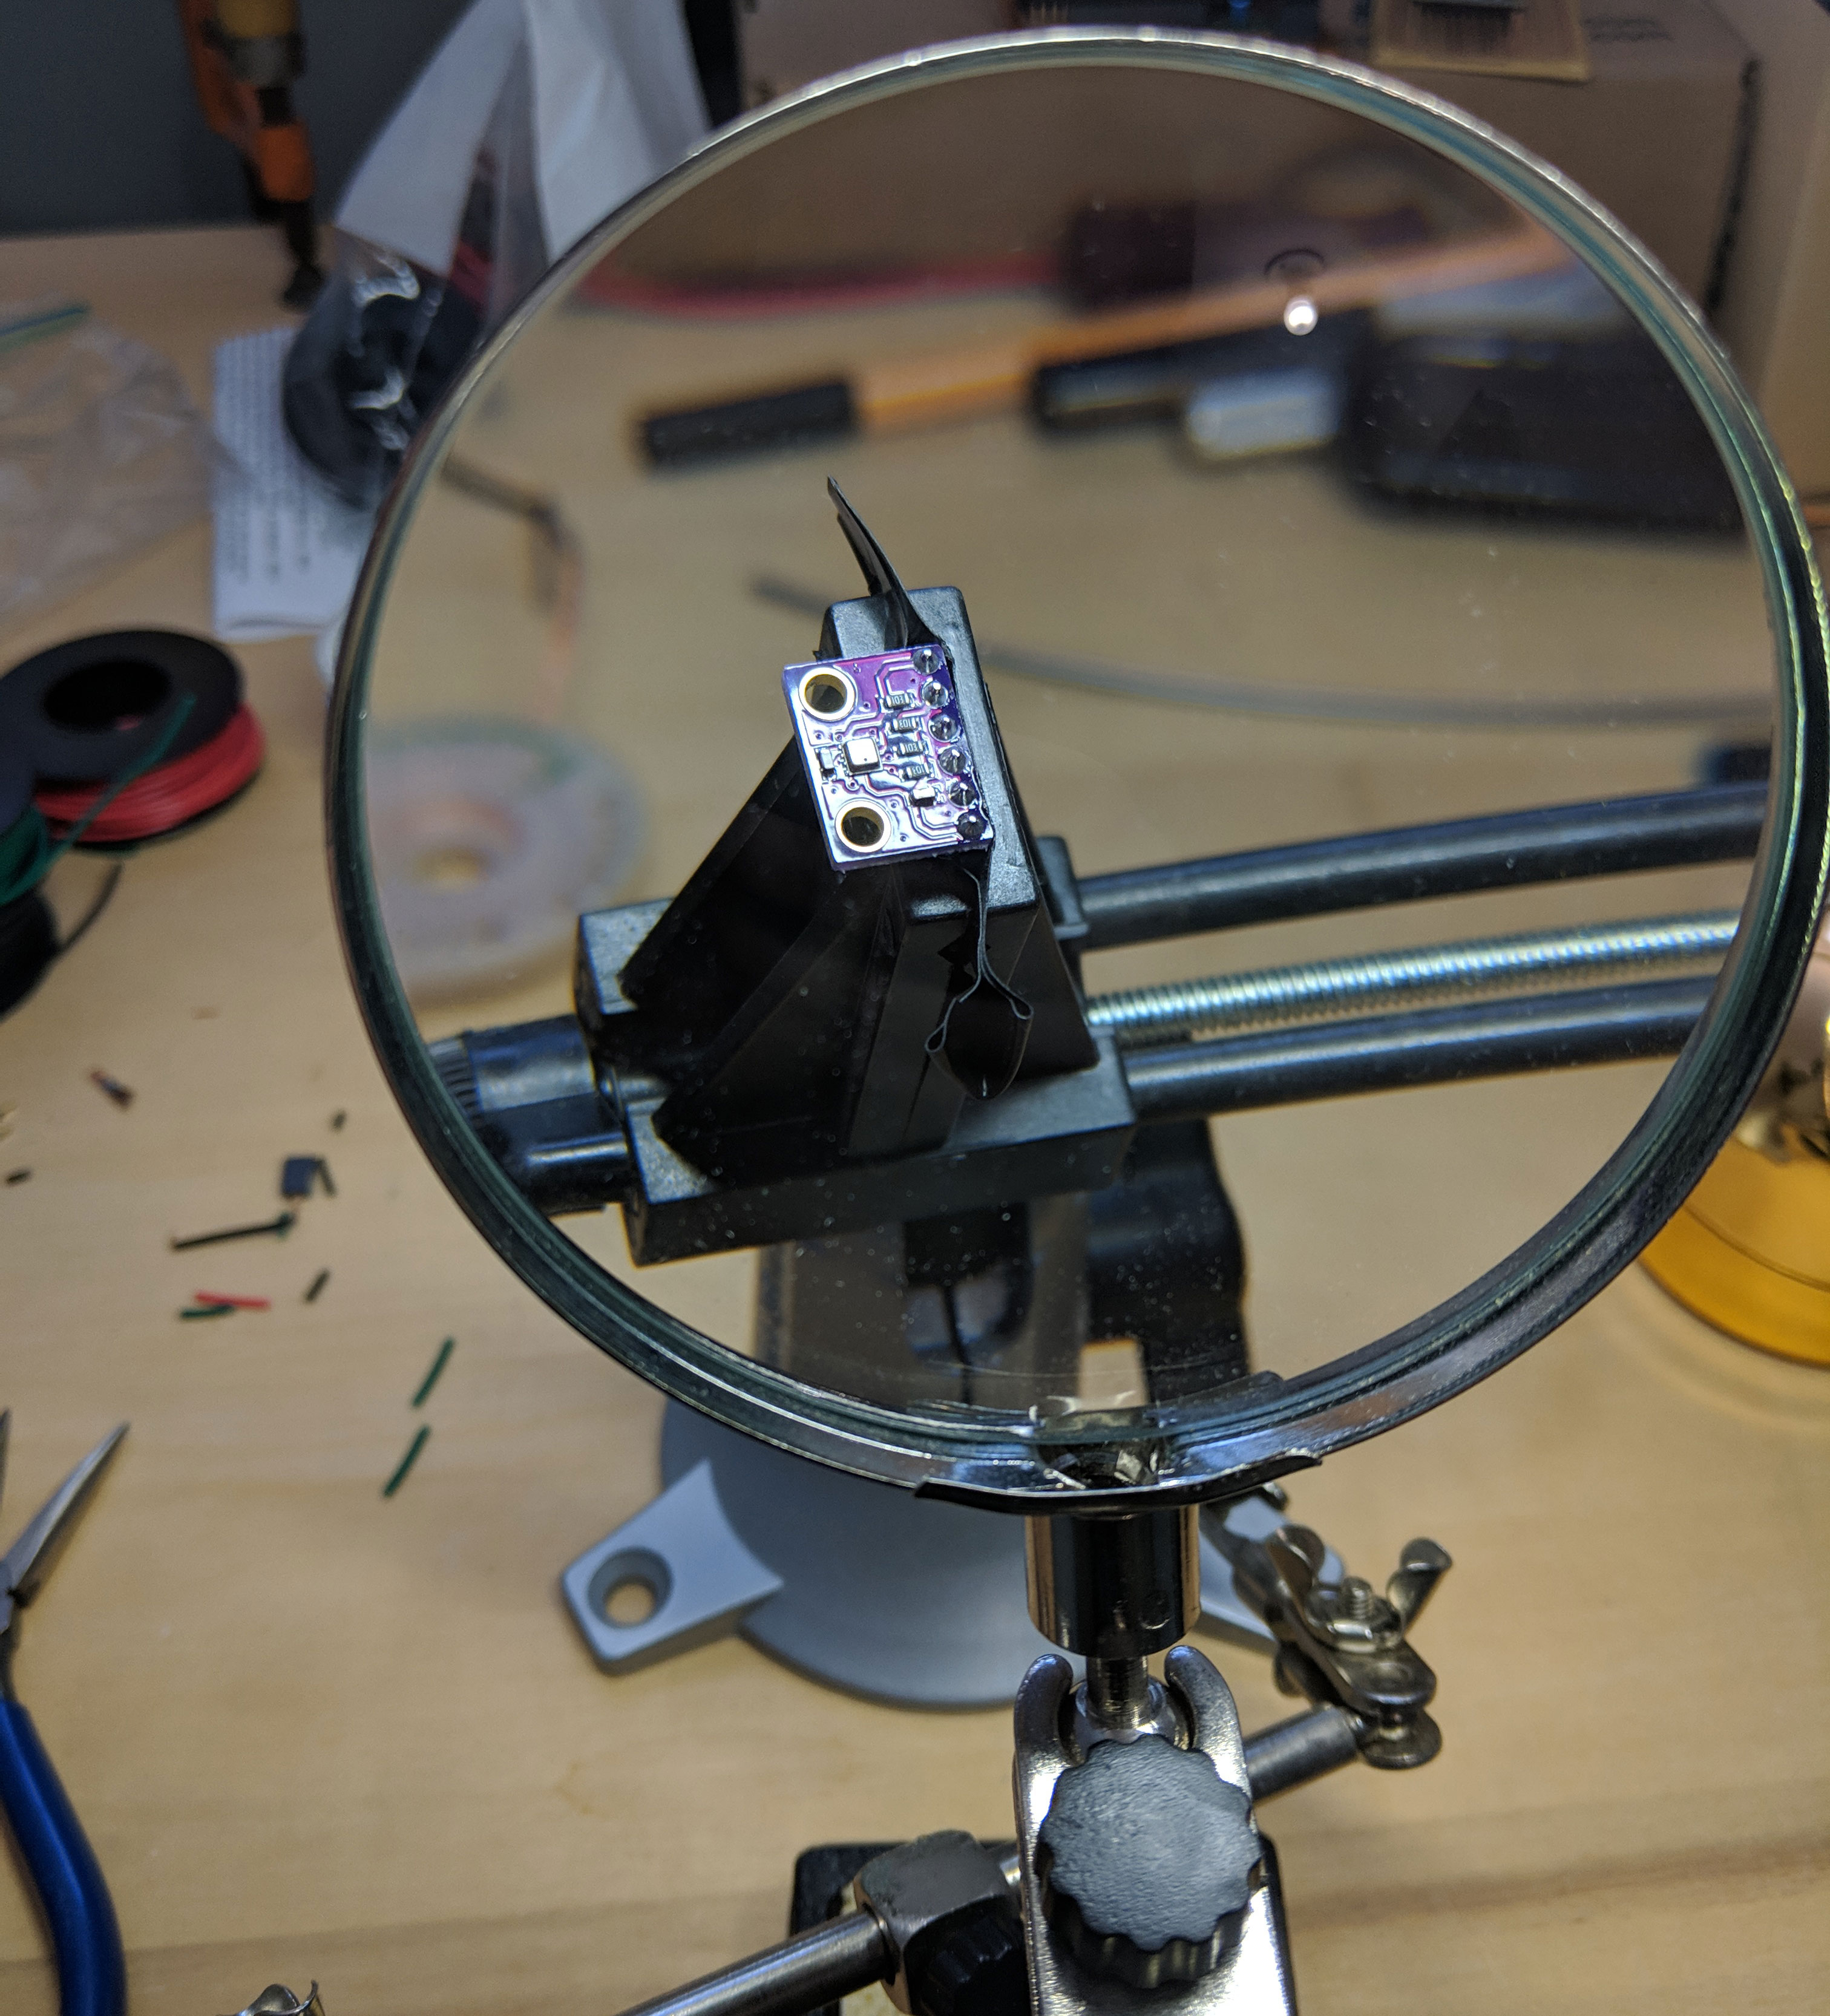
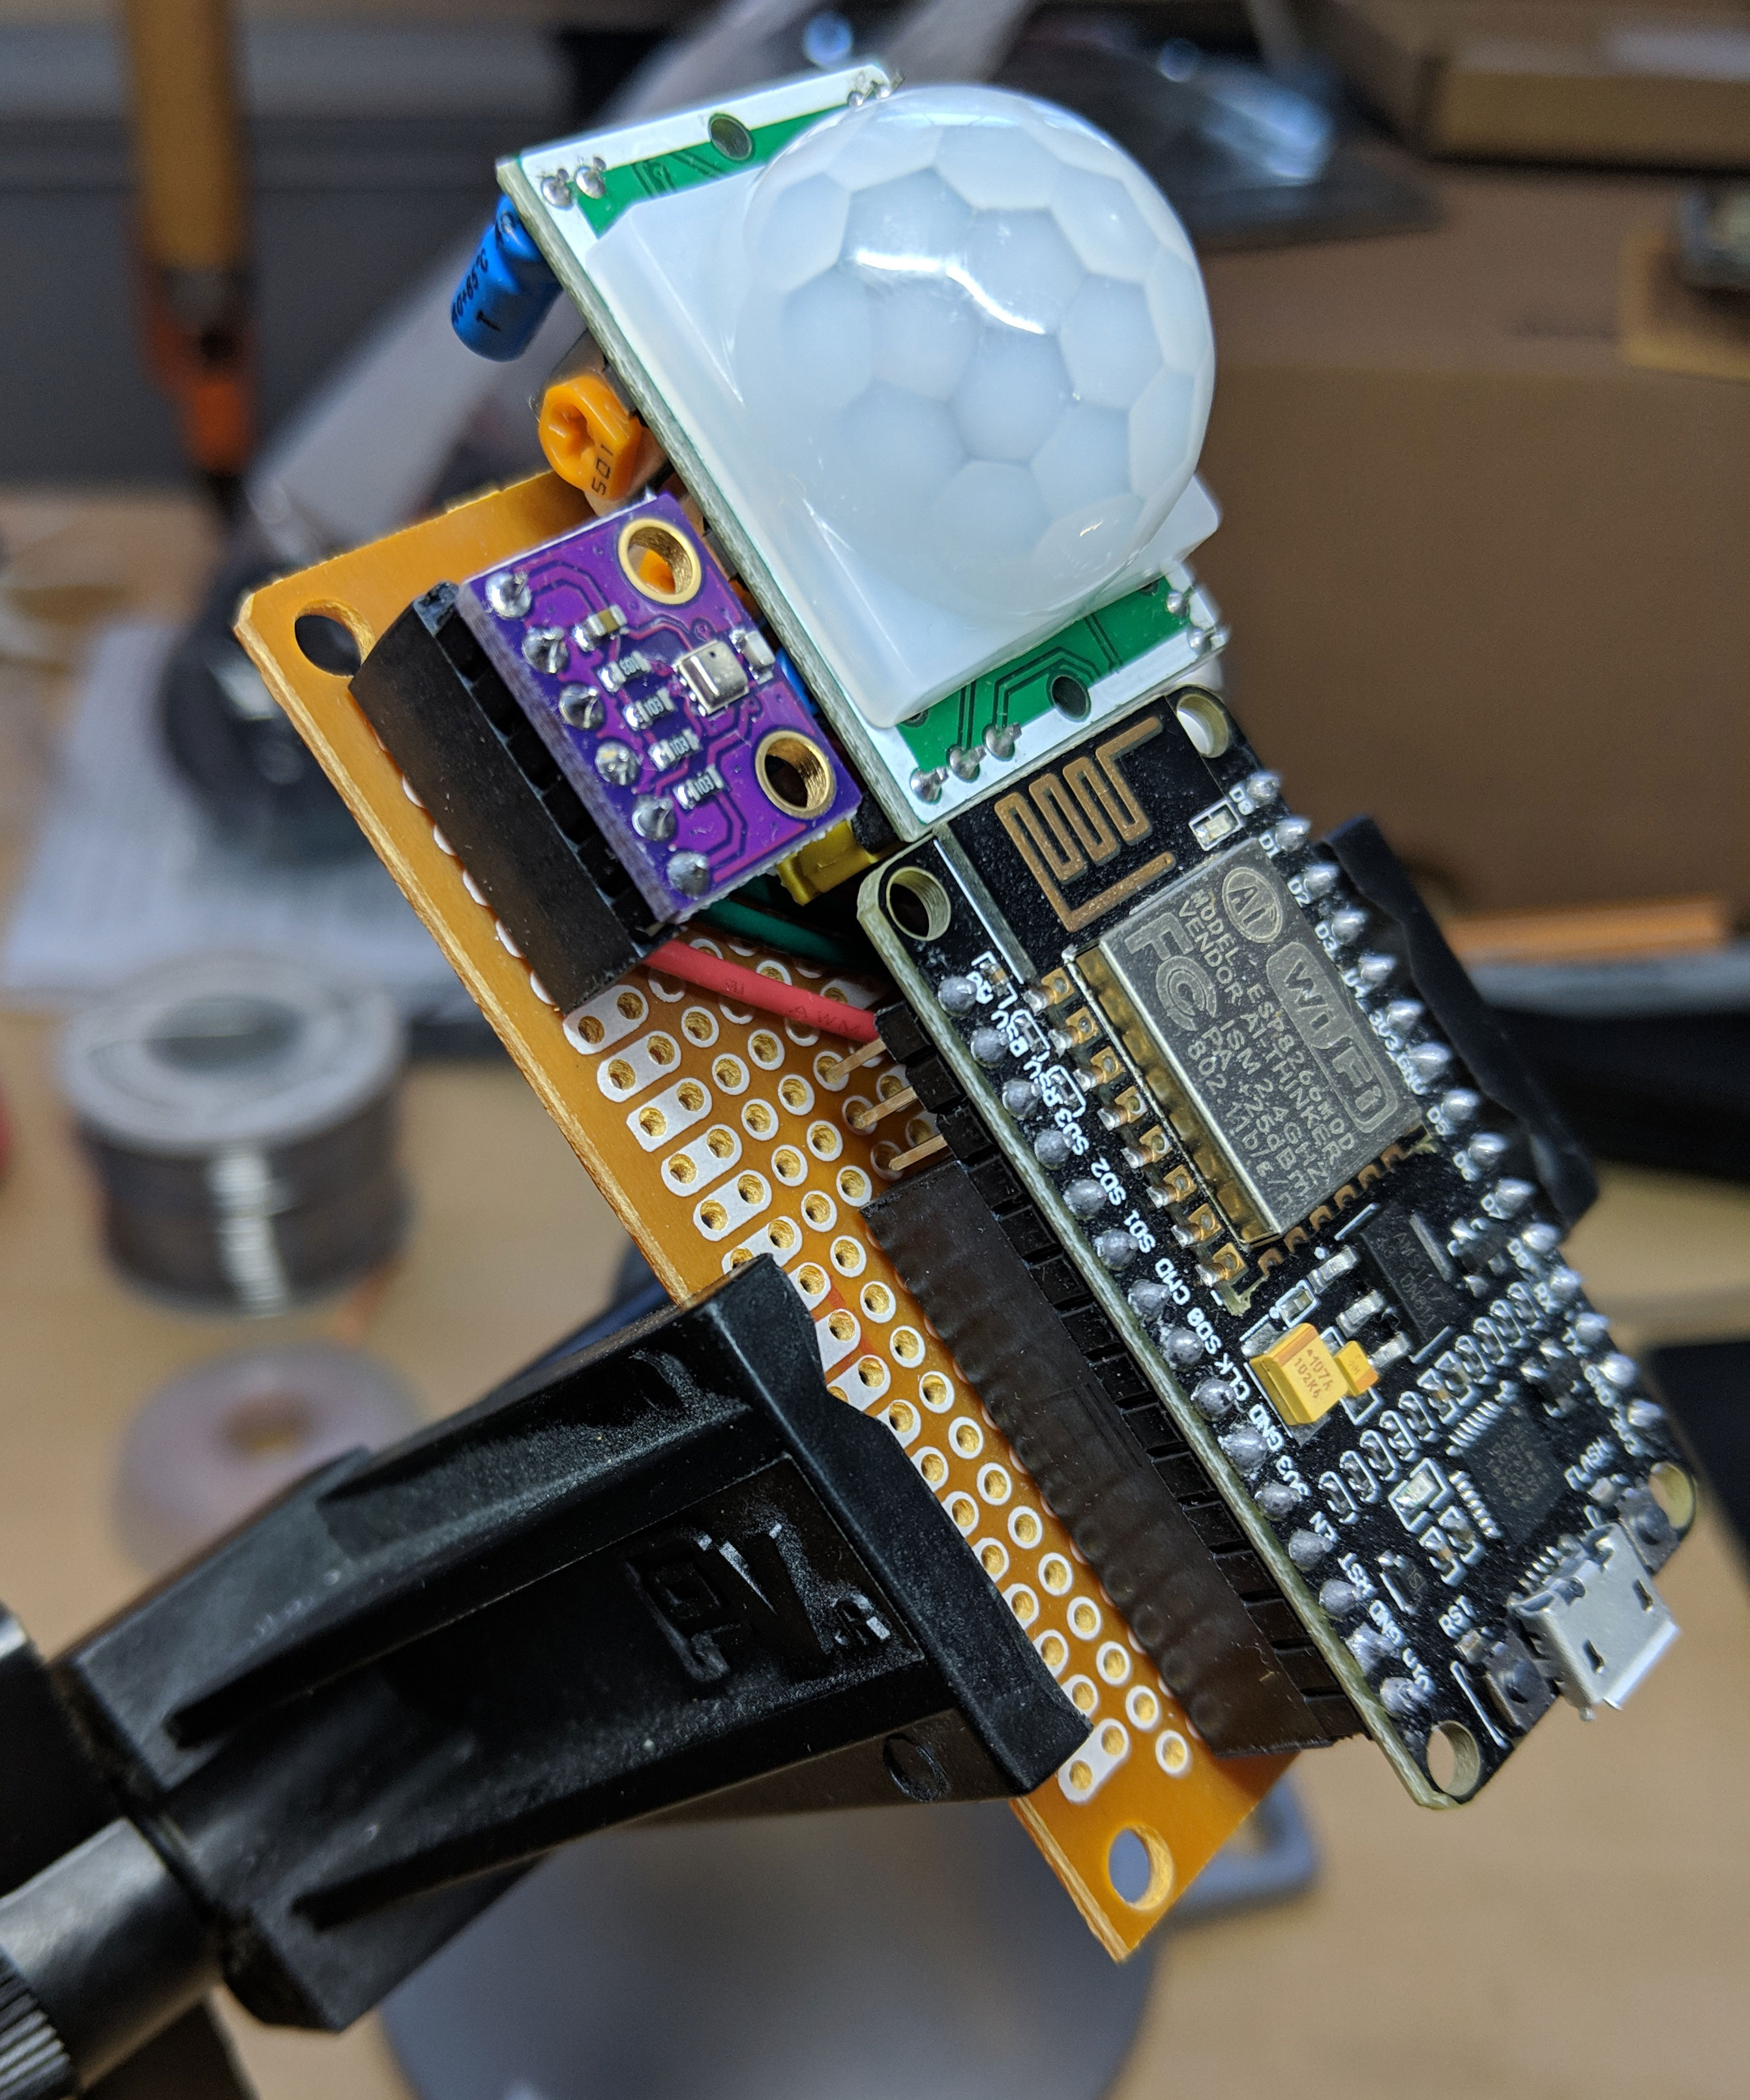
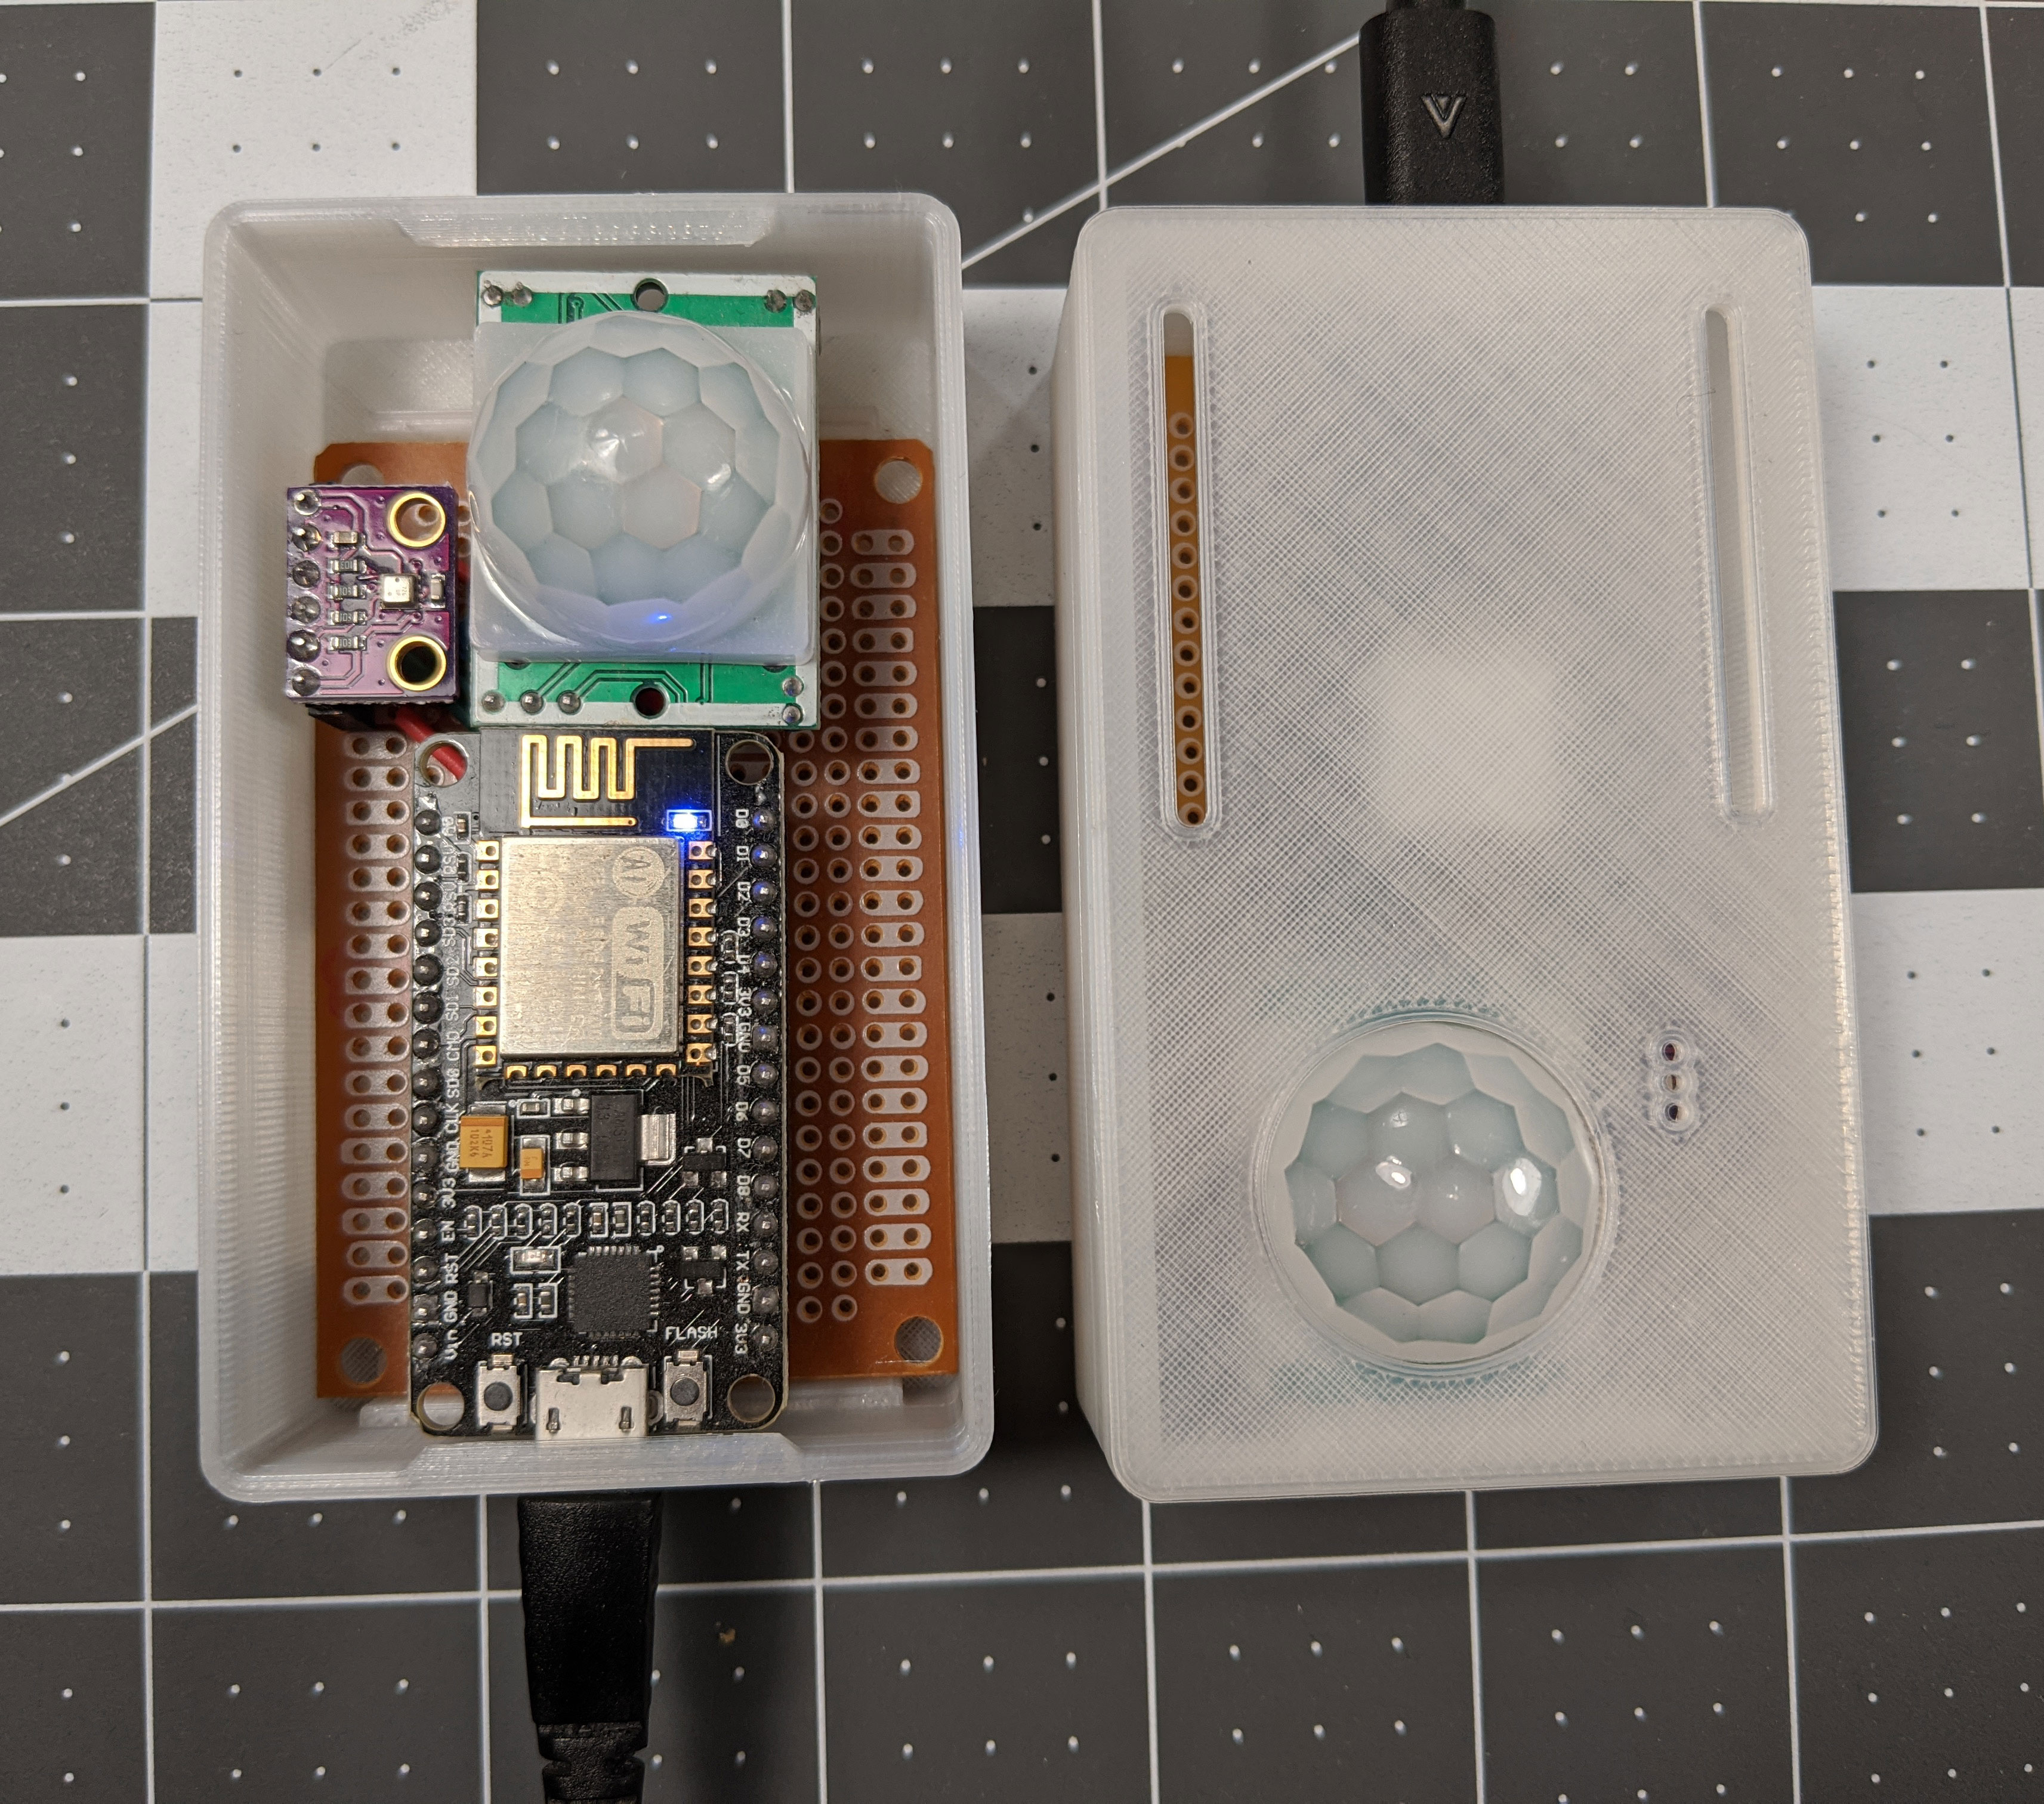
I ended up building a simple IoT prototype circuit using a NodeMCU ESP8266 board with a HC-SR501 PIR motion sensor and Bosch BME280, humidity, barometric pressure and ambient temperature sensor.
I started with a bit of research and then ordered the main parts from Amazon.
- 2 pack NodeMCU - $11.49
- HiLetgo BME280 - $8.99
- 5 Pack HC-SR501 Pir Motion - $8.99
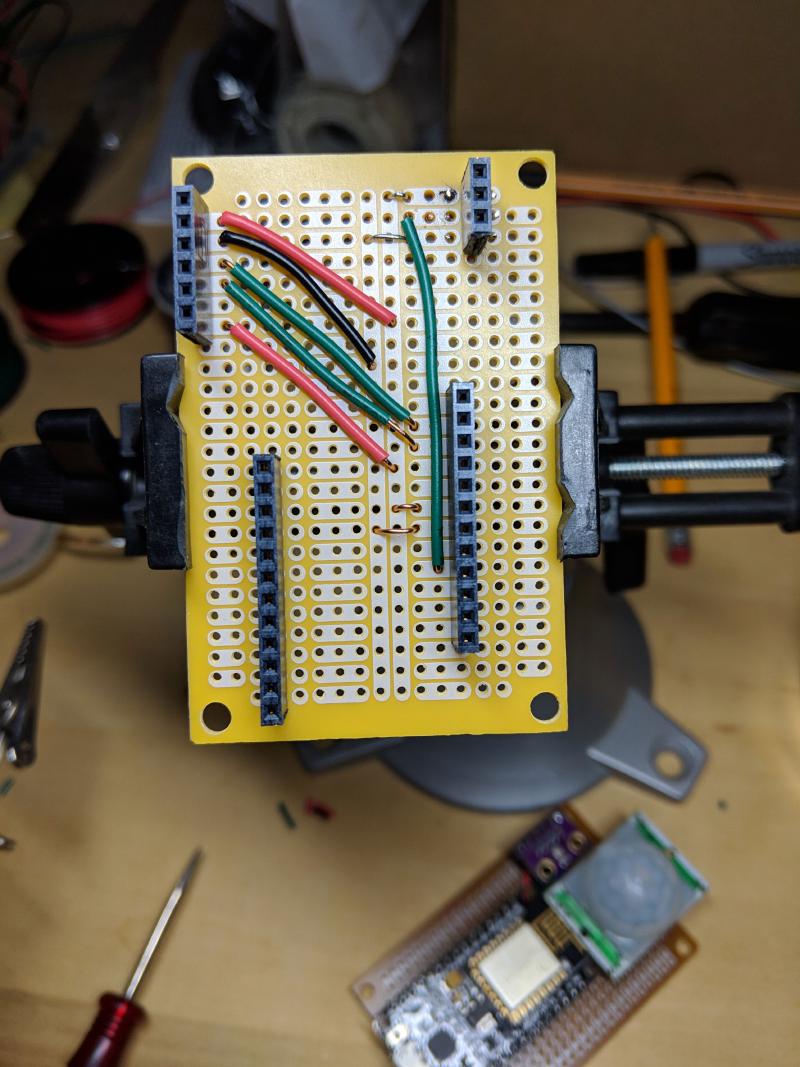
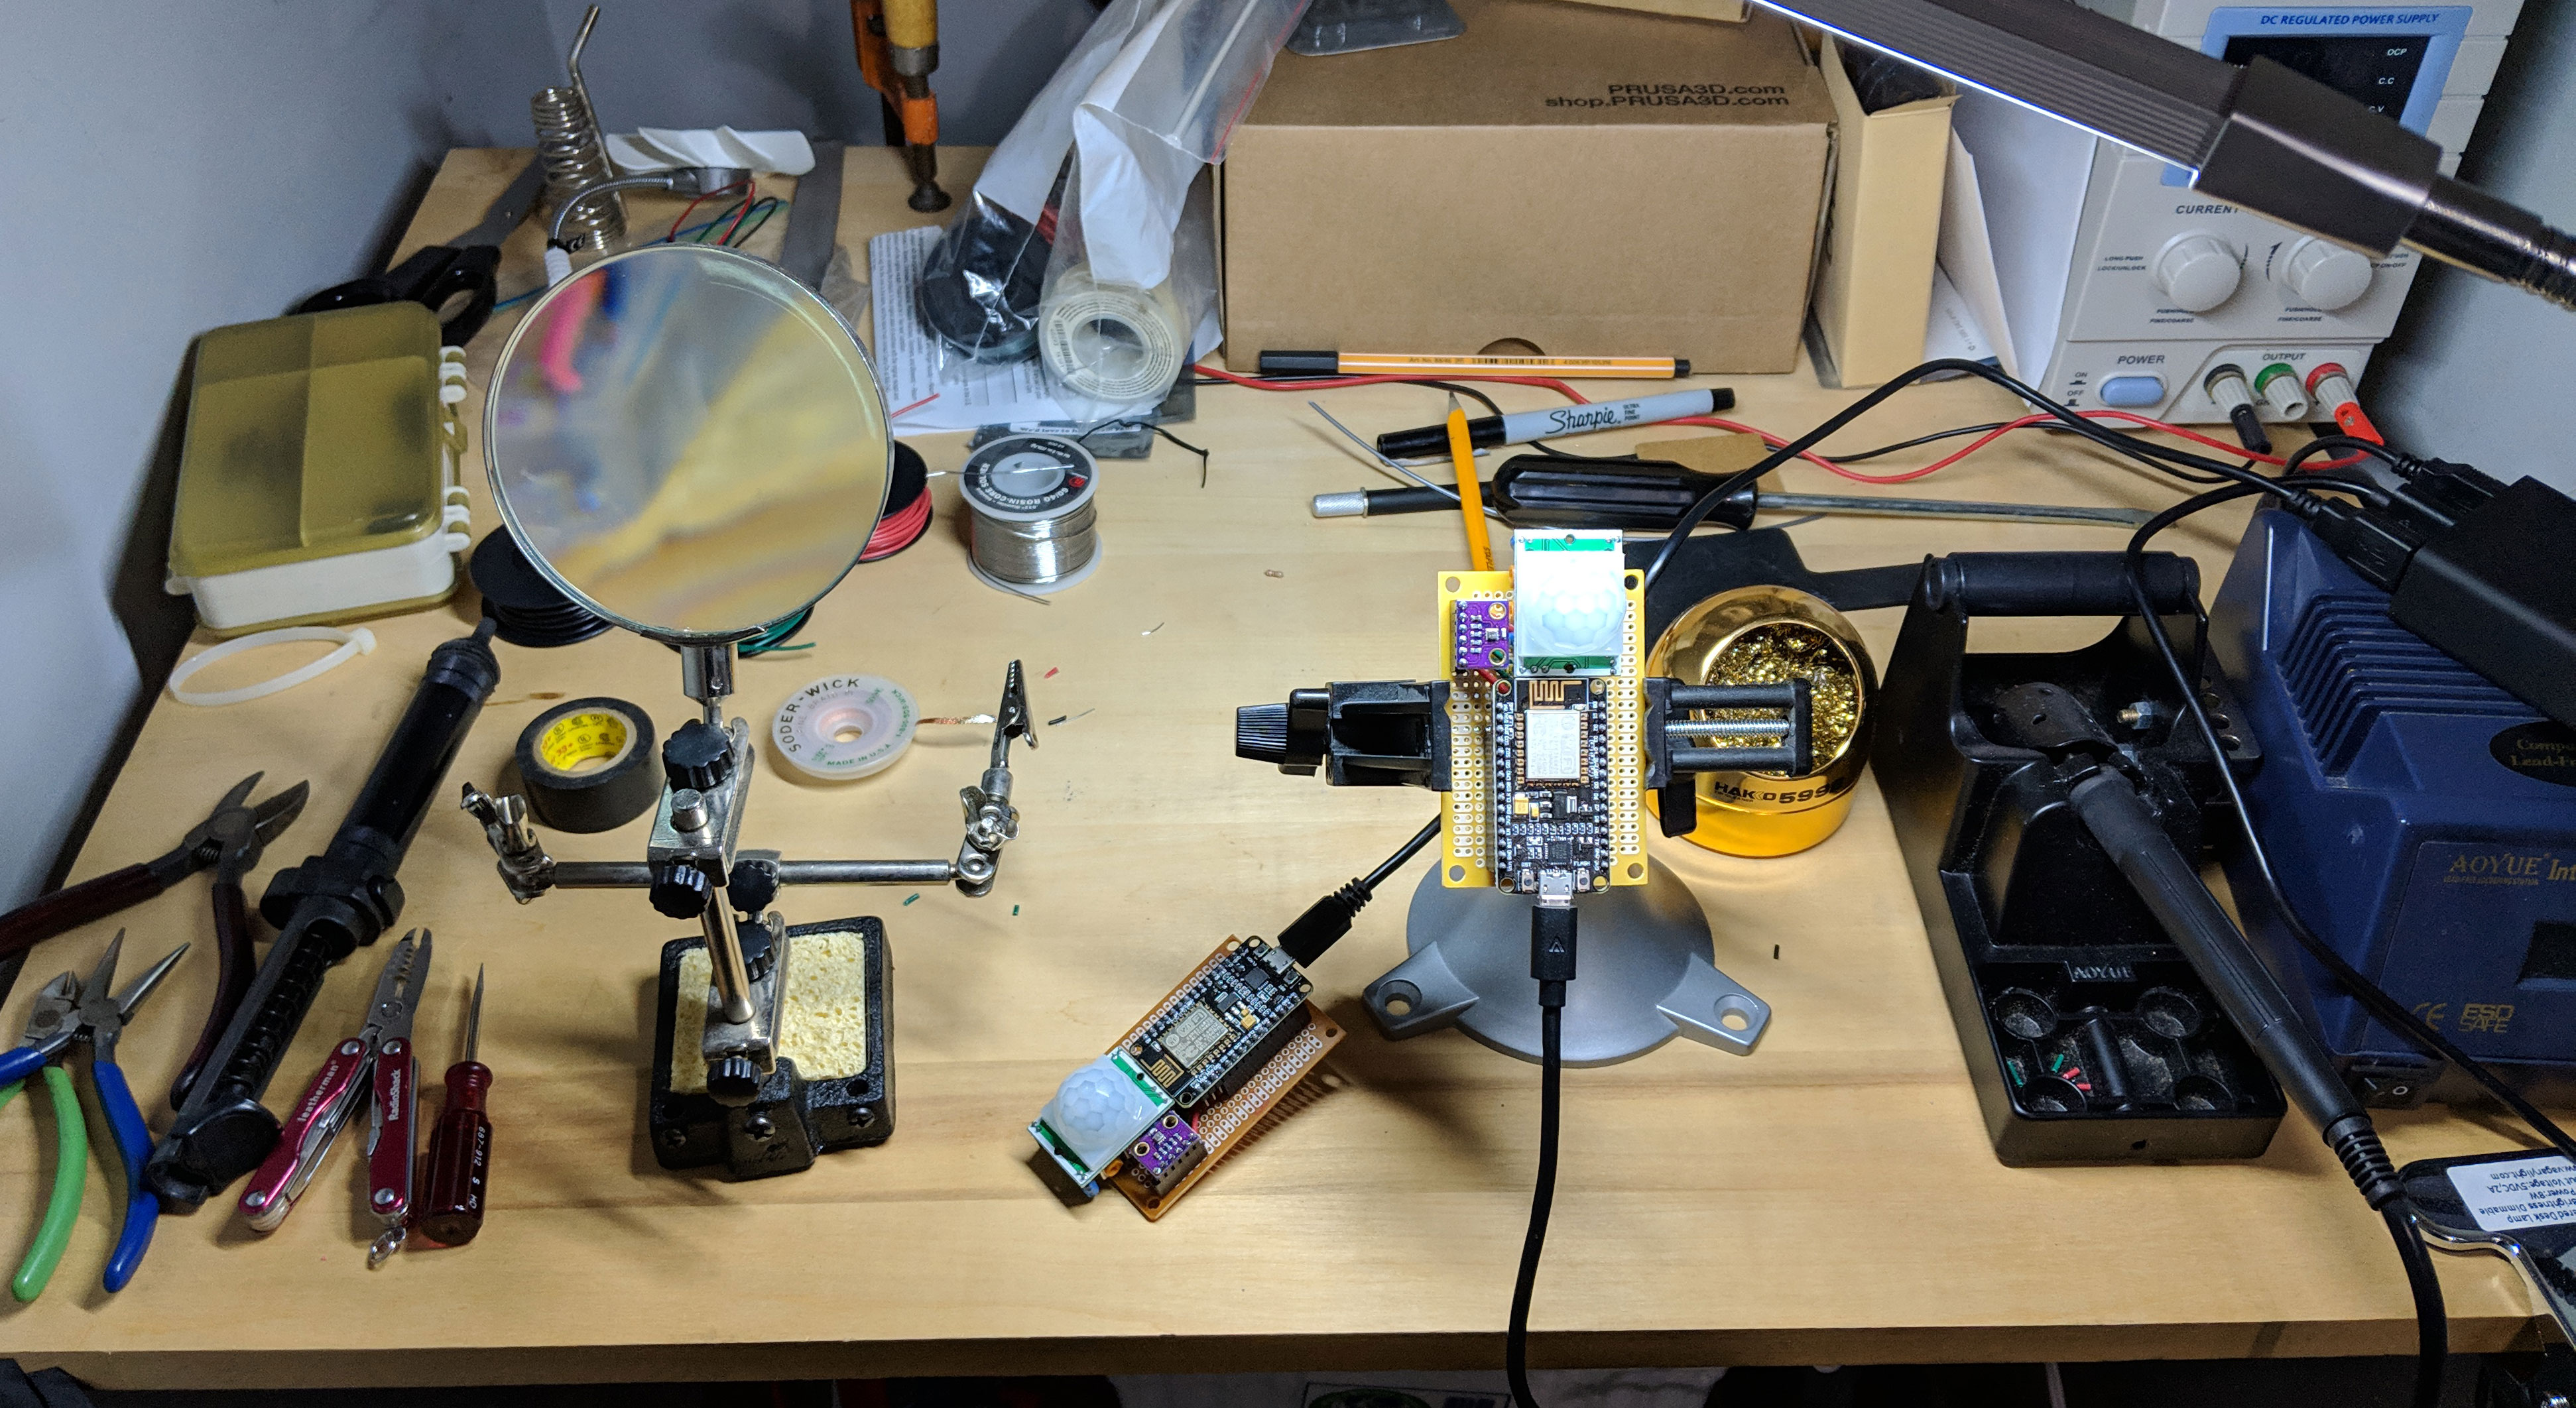
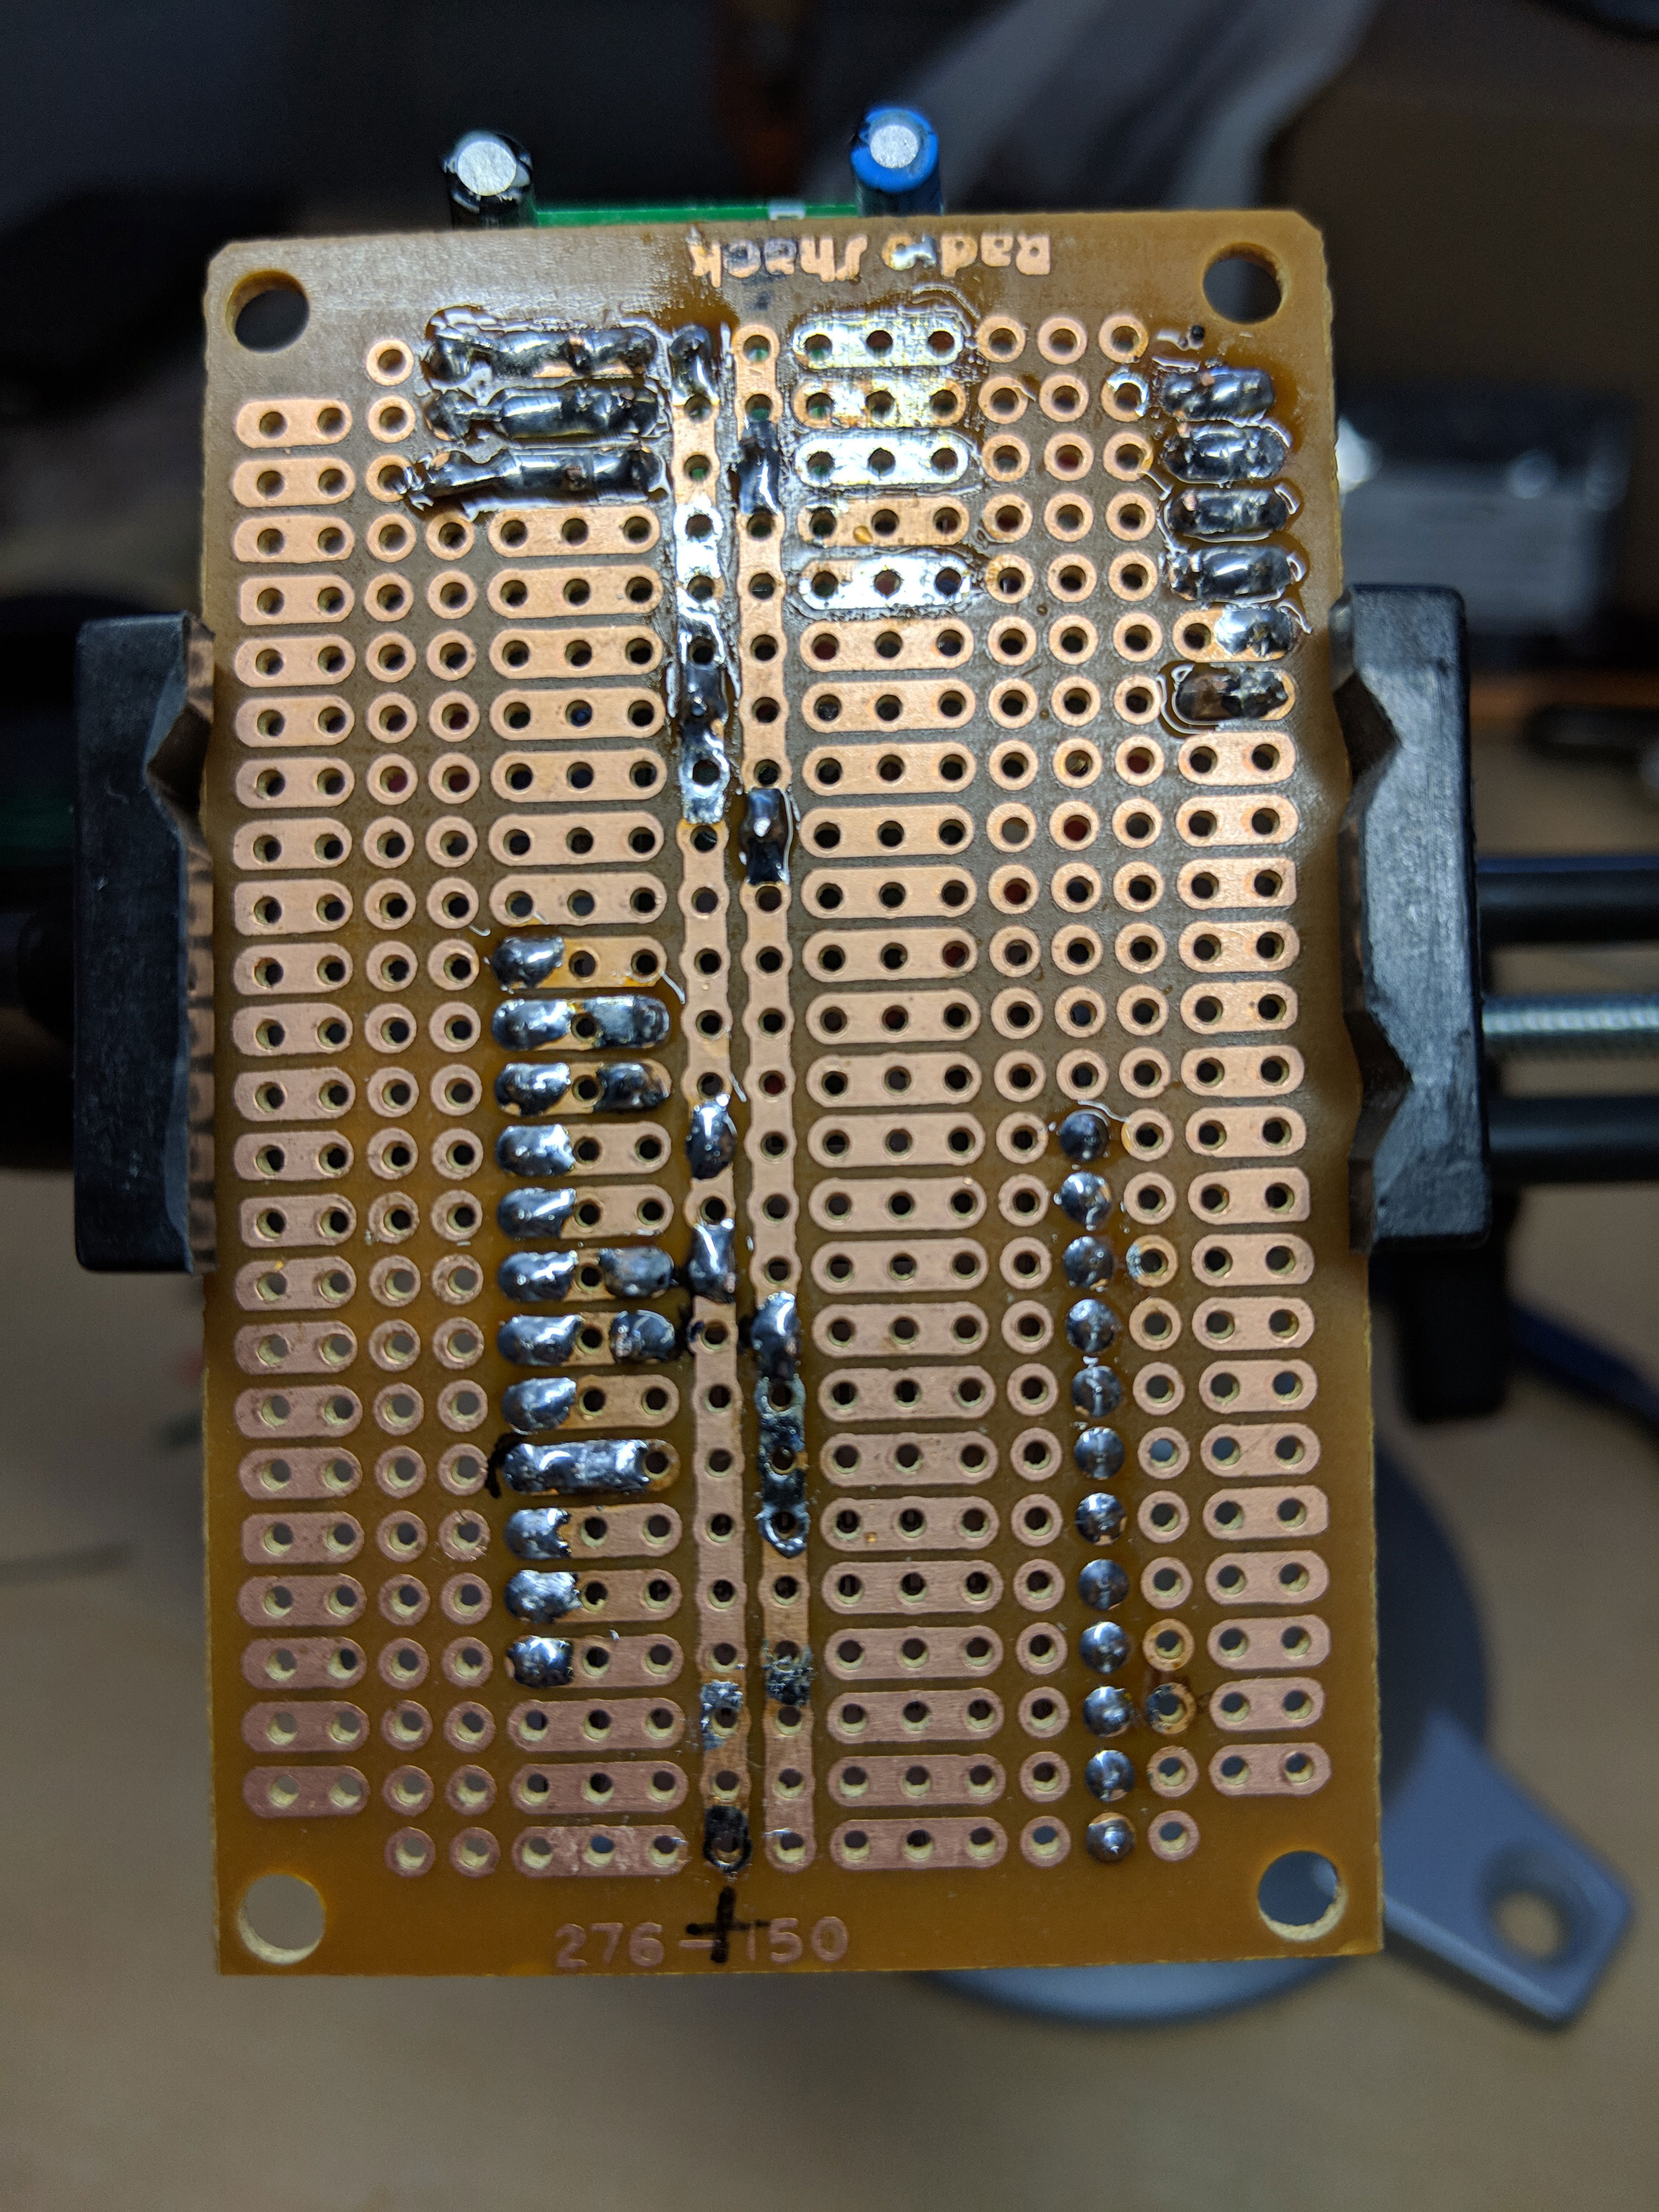
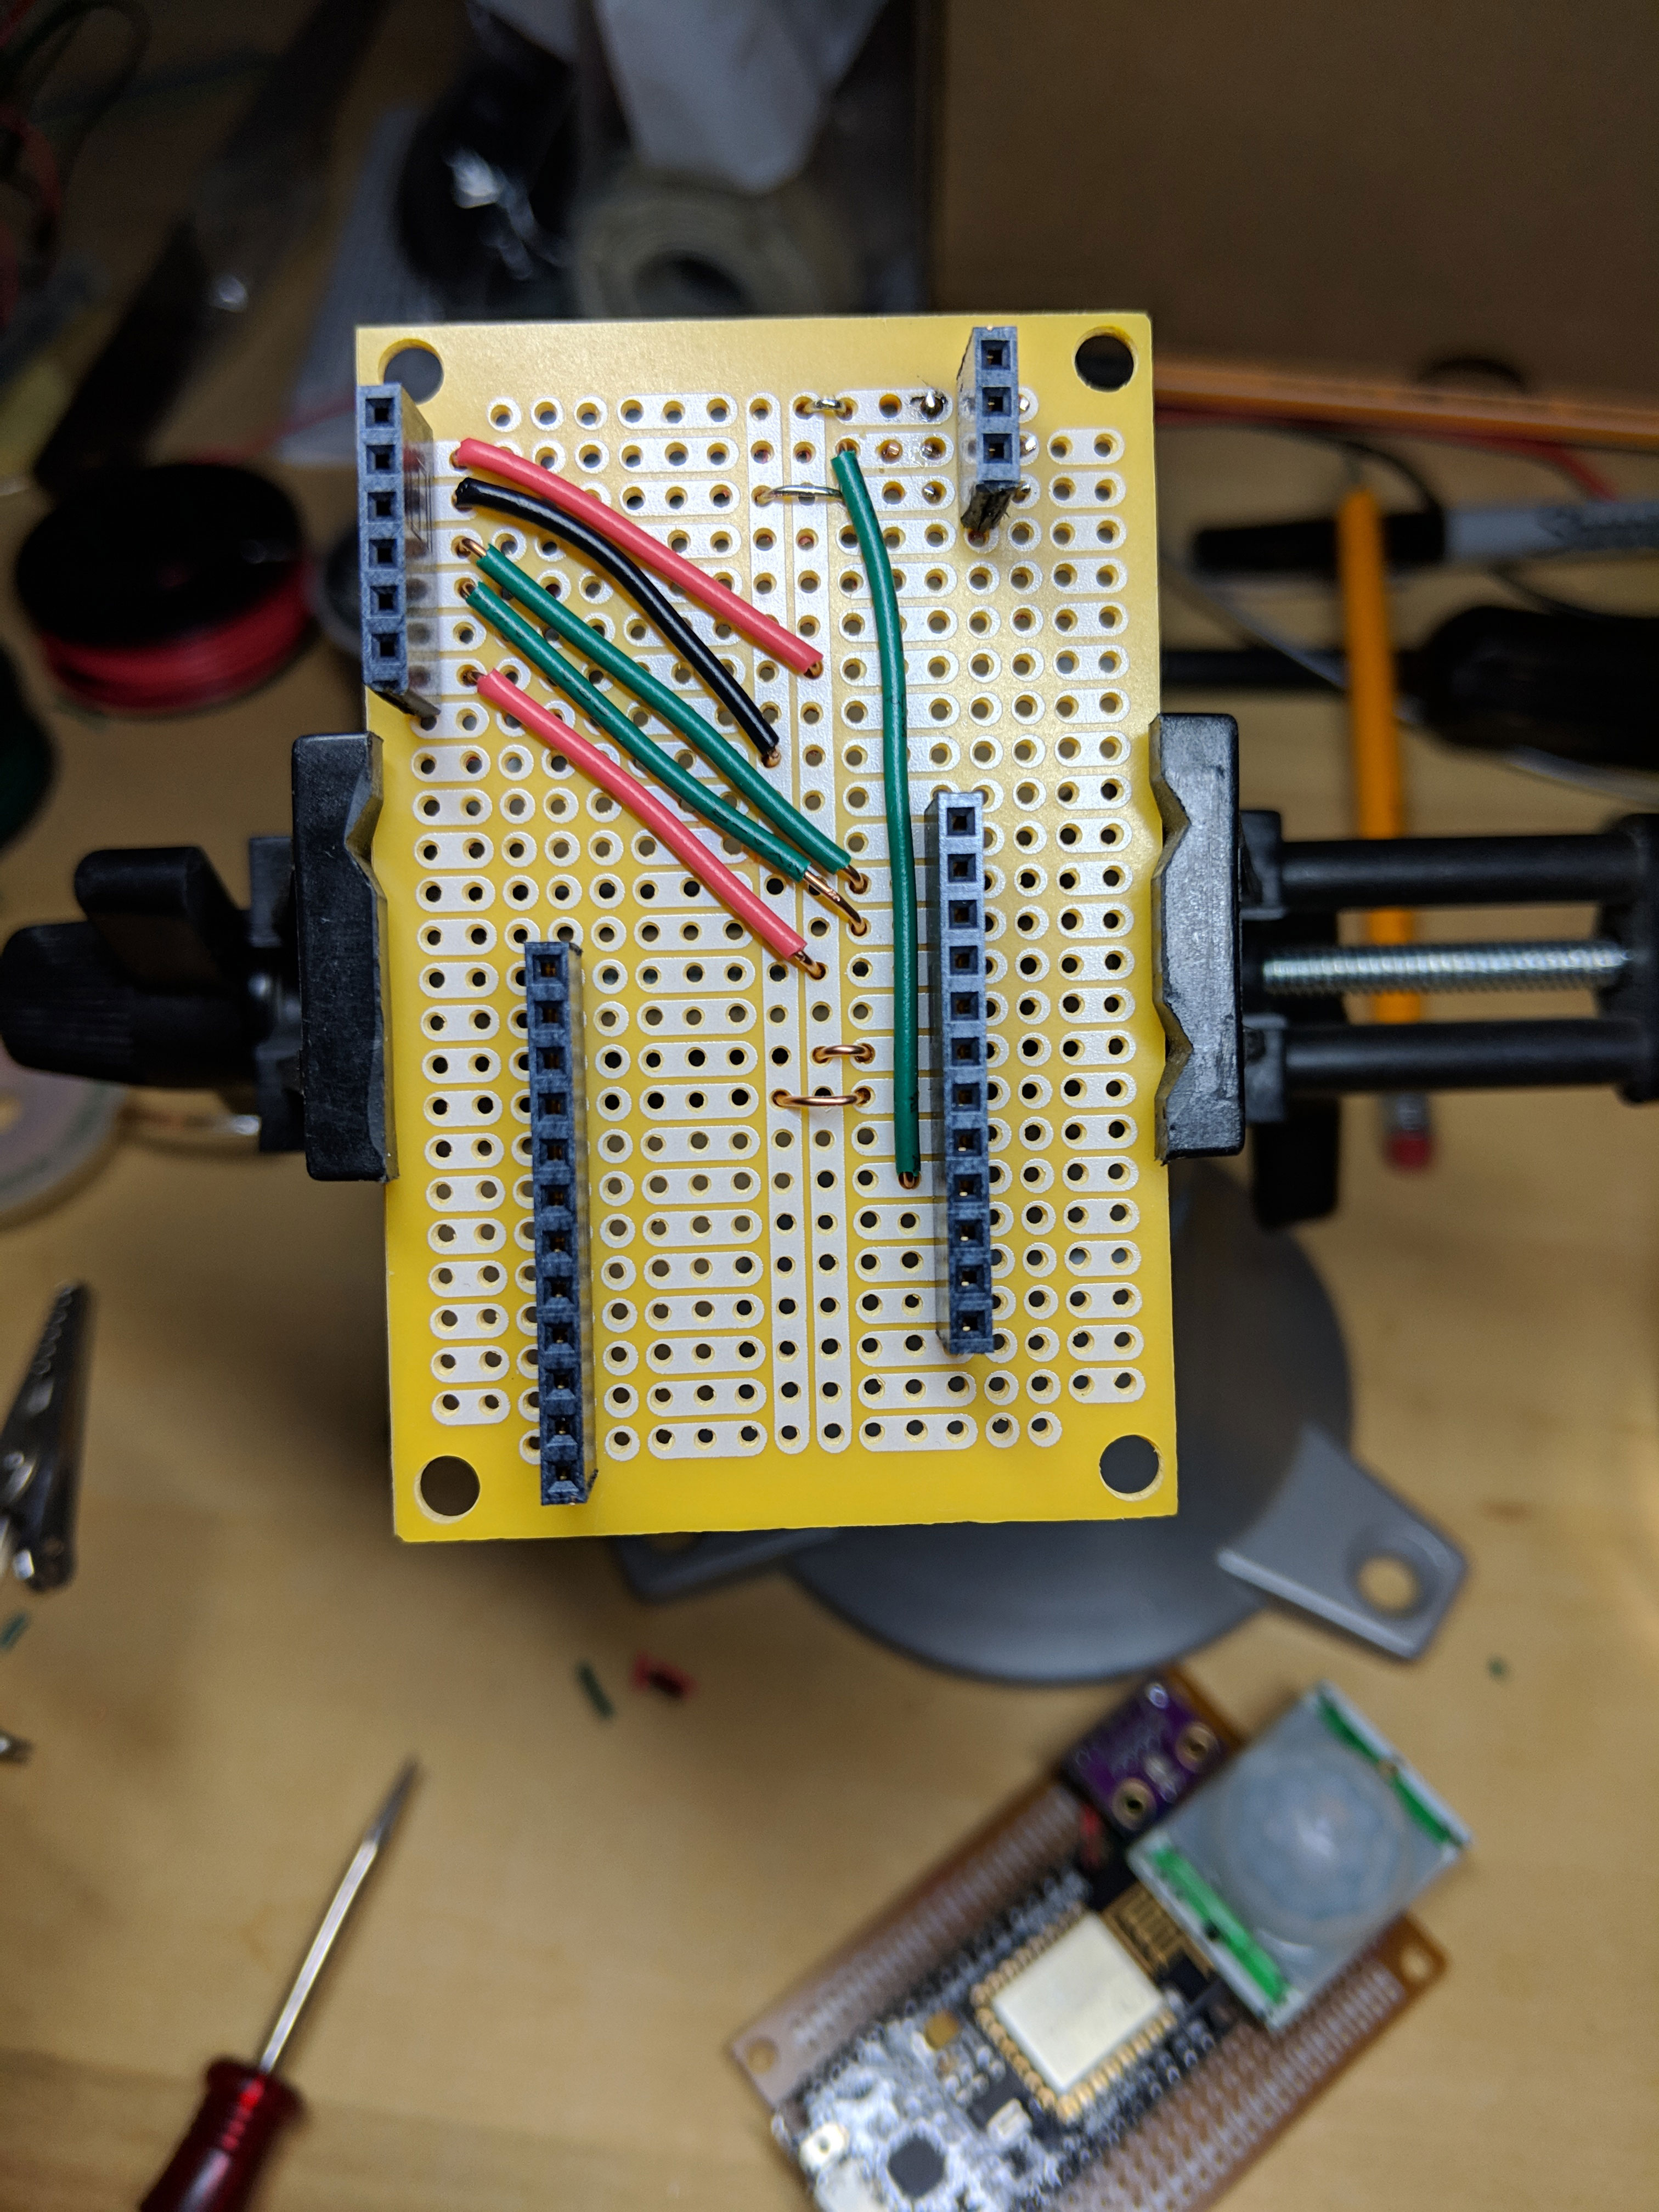
I did the initial sensor testing with a breadboard prototype and then made a more permanent design with some old RadioShack prototyping boards (No. 2760150) that I had in a parts bin.


Software
During my investigation into the ESP8266 microcontroller I had decided that I wanted to try to use the MicroPython port for this project.
Figuring out how to use MicroPython on the ESP8266 was a little bit more of a hassle than I anticipated. My previous experience working with microcontrollers has been limited to various Arduino boards and the Arduino IDE.
First you need to install the esptool python package to flash the new firmware.
Then you need to figure out which tool to use to interact with the REPL shell and how to upload files to the board. I tried ampy, rshell and finally settled on using mpfshell for most of the project.
Having the flexibility to work with multiple files directly on the internal filesystem is very different from Arduino where you have the IDE compile and upload your entire code base on every change.
I mostly implemented guage metrics with the exception of the motion sensor that uses a counter metric.
The PIR sensor has an adjustable delay timer that is used to control how long the output remains high after motion has been detected. The minimum time is around 5 seconds. With a planned scrape (collection) interval of 60 seconds I wanted a way to track multiple motion events that might occur in a 60 second window. By counting the number of events I can increase my resolution beyond what I would get with a guage metric and a 1 minute collection gap.
Below is an example of the metrics being exposed.
# HELP wifi_signal_rssi wifi signal rssi
# TYPE wifi_signal_rssi gauge
wifi_signal_rssi -48
# HELP temperature_celsius temperature in celsius from sensor
# TYPE temperature_celsius gauge
temperature_celsius 20.34
# HELP humidity_relative relative humidity percentage from sensor
# TYPE humidity_relative gauge
humidity_relative 38.3389
# HELP pressure_pascal absolute barometric pressure in pascal from sensor
# TYPE pressure_pascal gauge
pressure_pascal 99762
# HELP pir_motion_events PIR motion events
# TYPE pir_motion_events counter
pir_motion_events 7025
You can review the code in my envirosense_esp8266 project on GitHub.
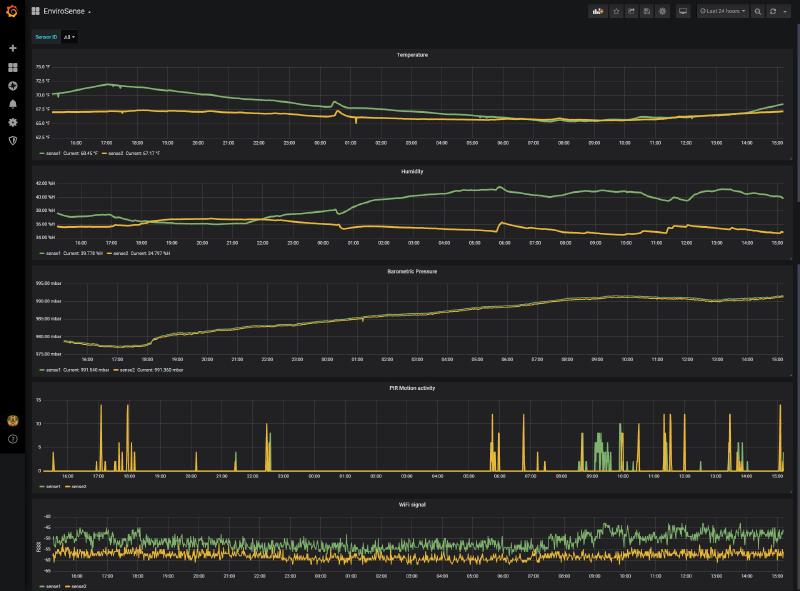
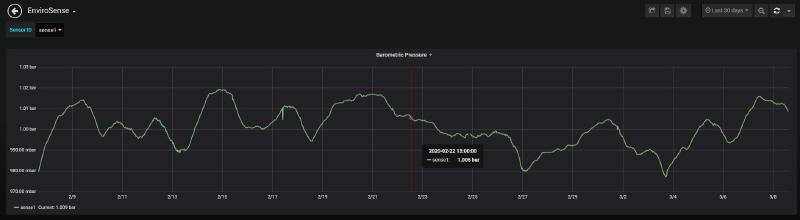
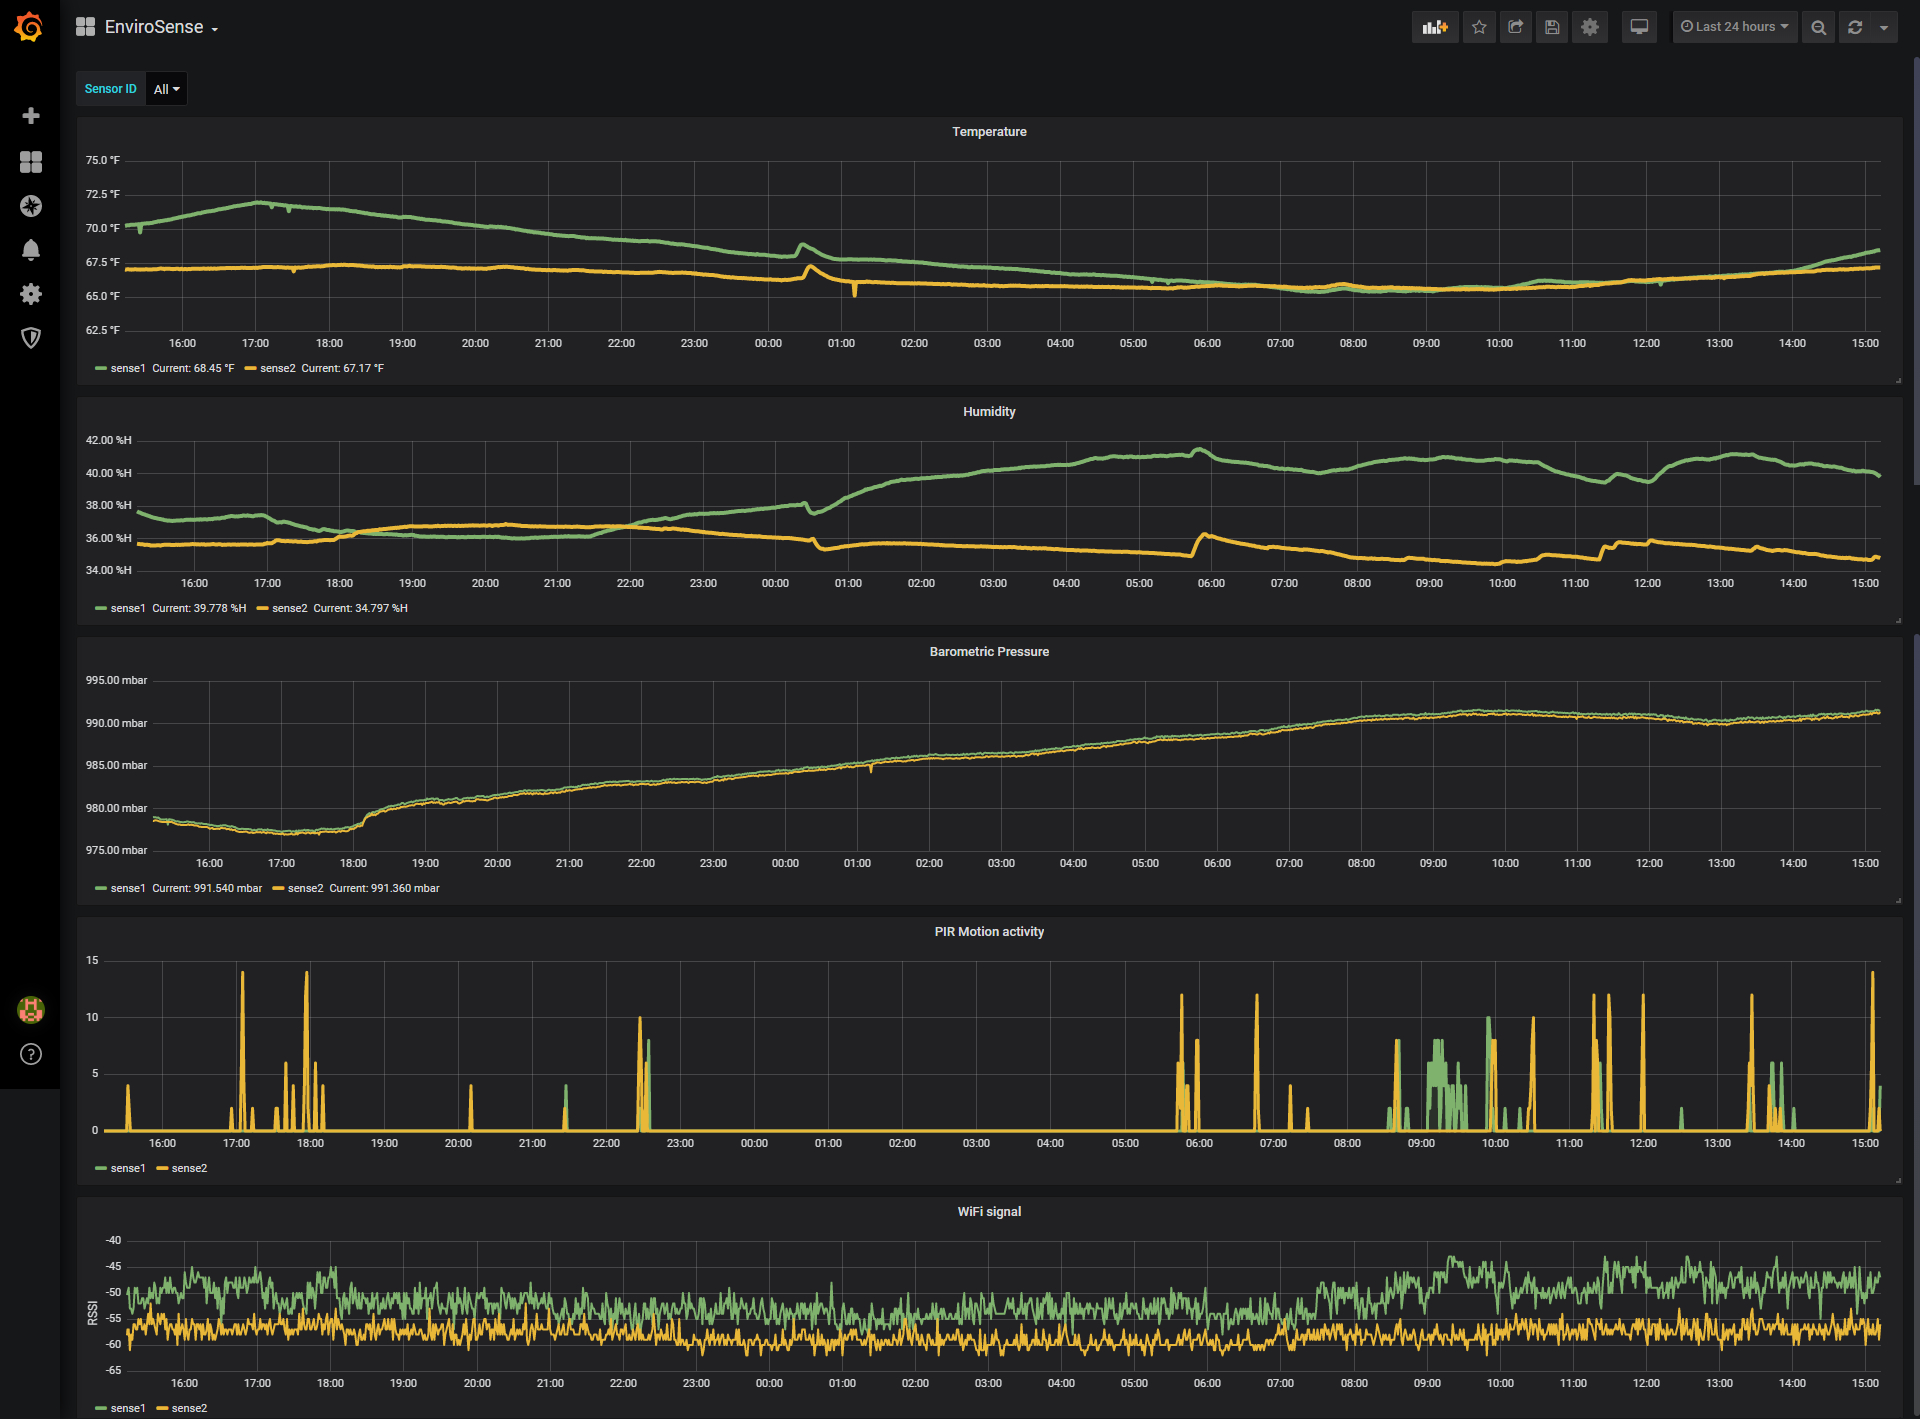
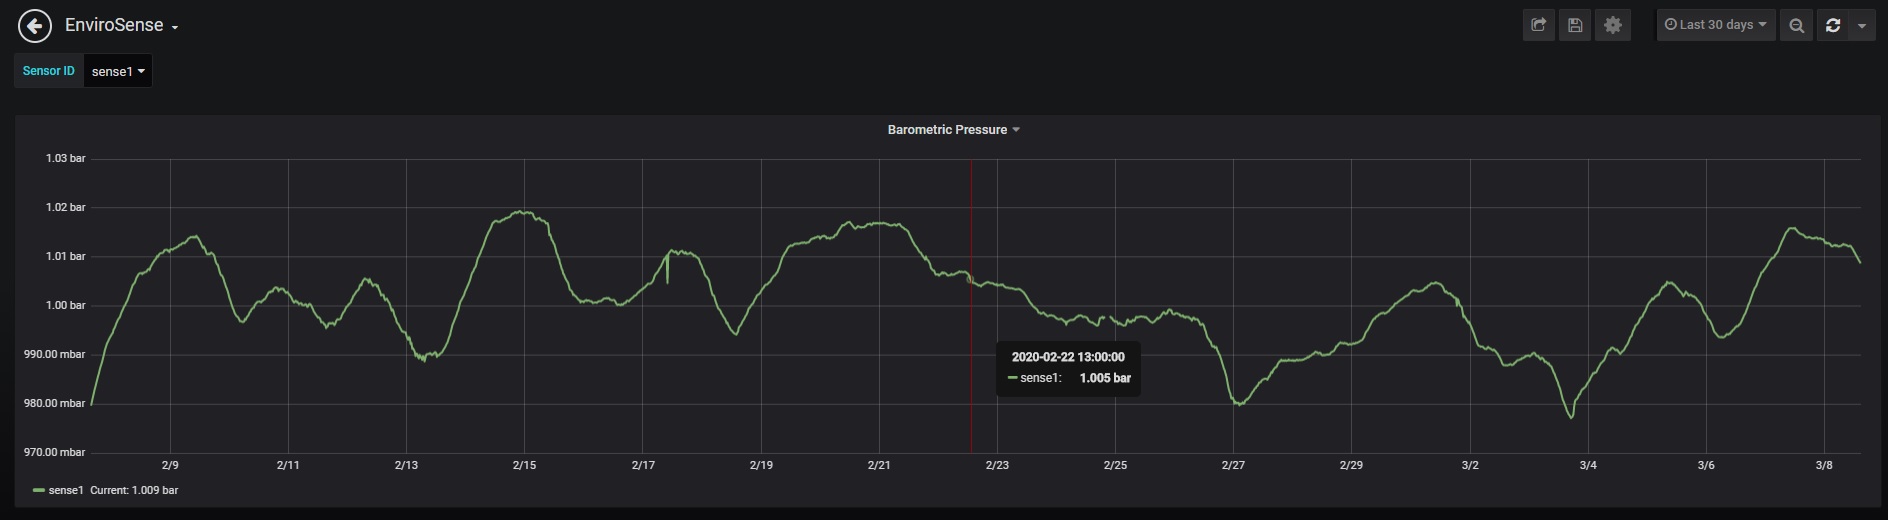
Once the metrics were being collected by the Prometheus server it was easy to build the dashboard in Grafana.
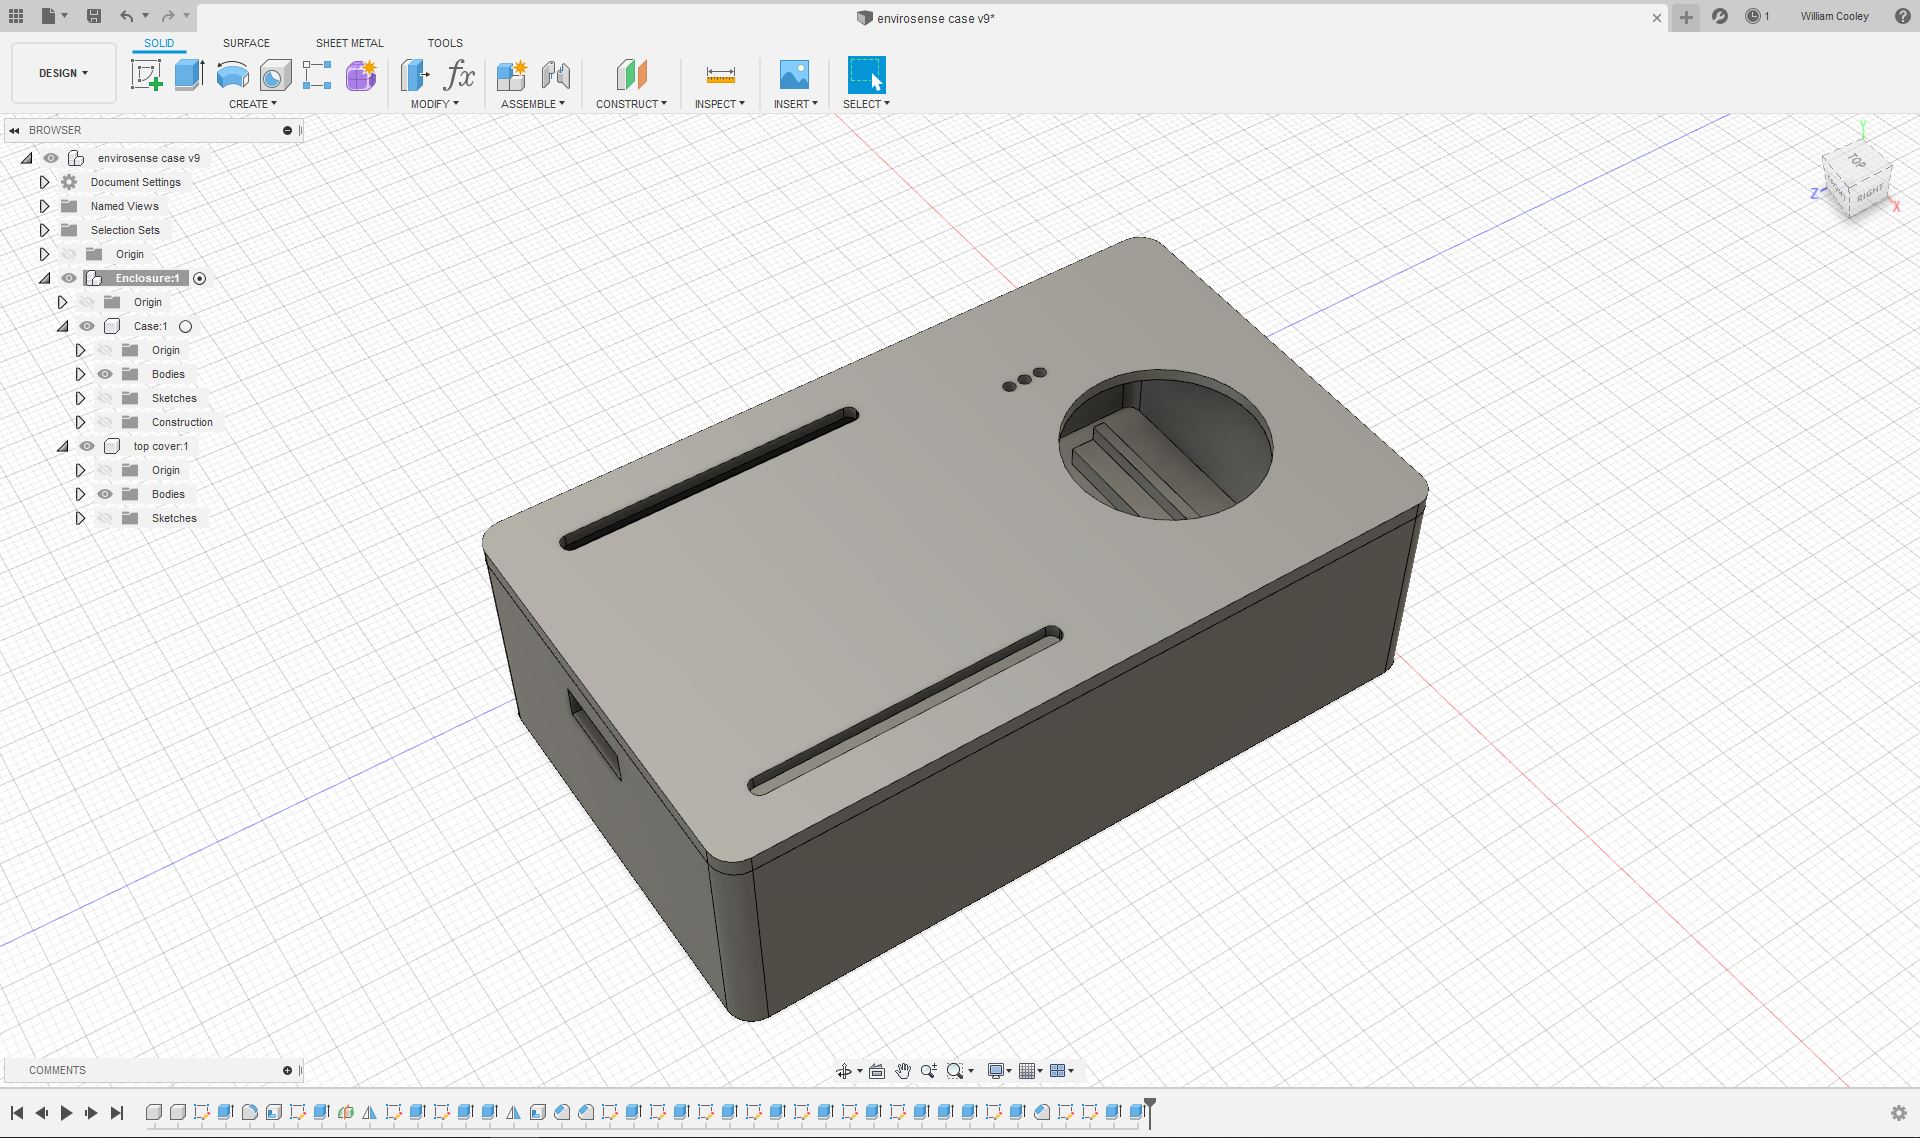
Enclosure
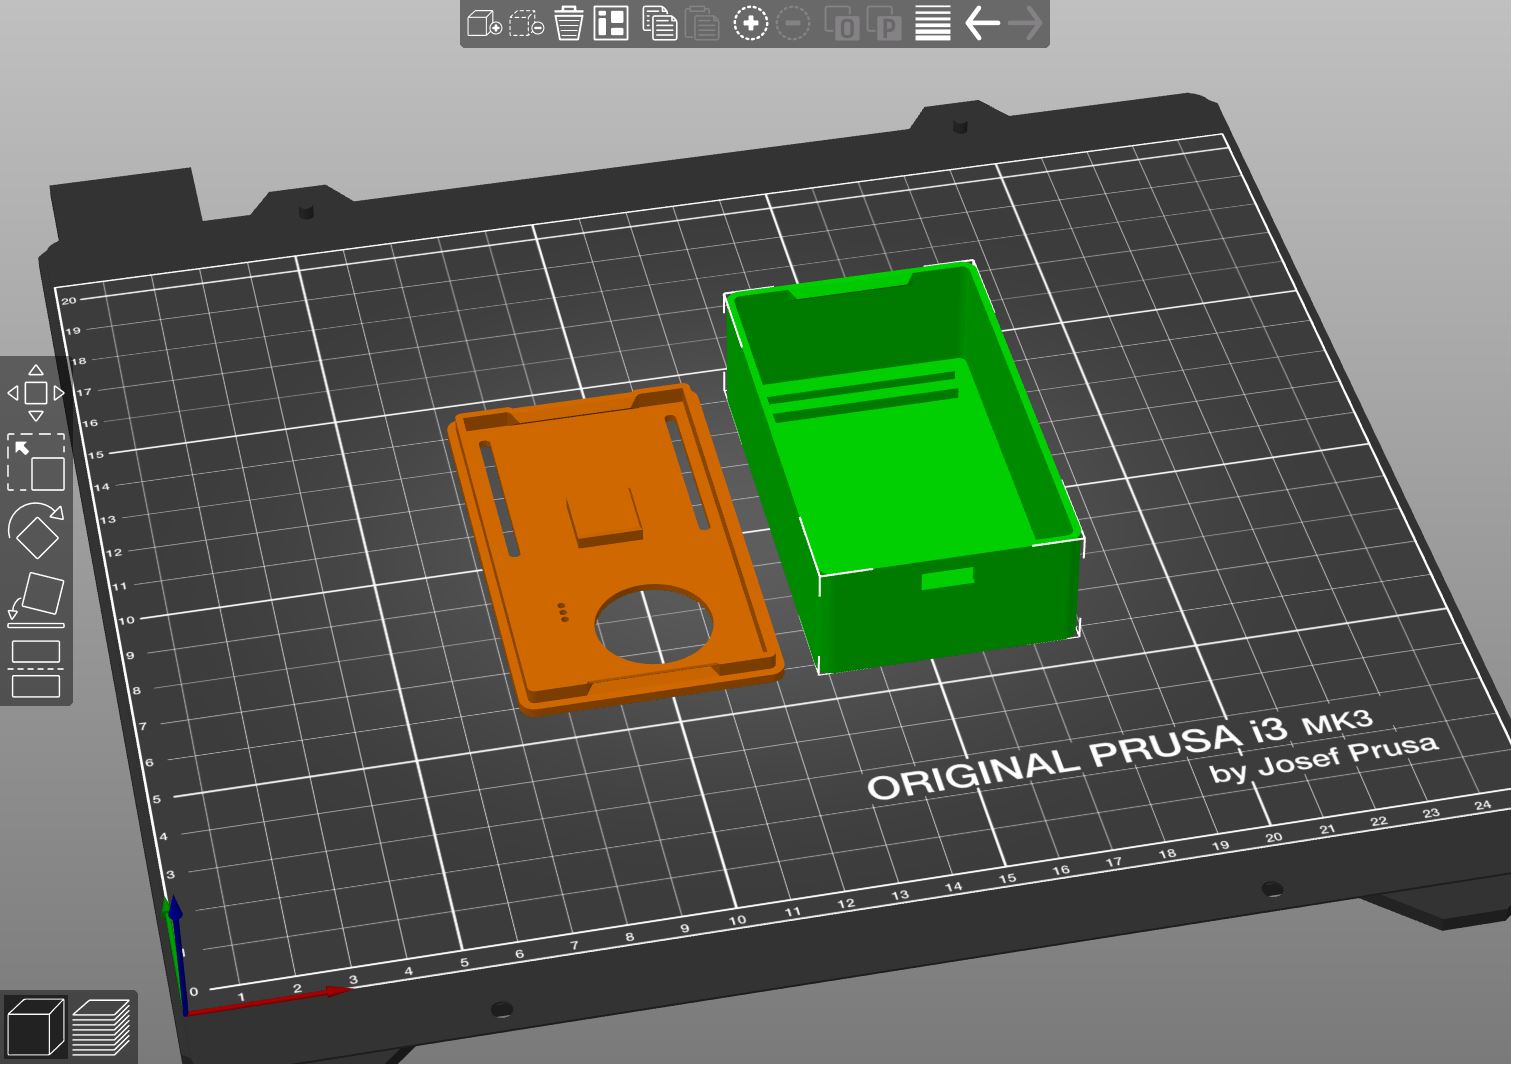
The last big part of the project was to design a snap fit enclosure using Autodesk Fusion 360 which I then 3D printed on my Original Prusa i3 MK3 using translucent PLA.
I watched the following tutorial video from Adafruit to learn most of what I needed for the design.


Final Thoughts
The low price of the NodeMCU is very enticing. However for a low production unit project like this I have a renewed appreciation for microcontrollers with good documentation and ecosystem. If I had to do this again I might look into Adafruit’s CircuitPython and line of compatible boards.
I wasn’t too happy with the proto-boards that I used. After spending quite a bit of time creating multiple revisions of the enclosure to nail down the fit, I realized that I was committing to continue to use the RadioShack boards for any additional units I might want to build in the future. The time it would take to redesign the enclosure wouldn’t be worth the slight improvements I might gain from using a different proto-board.
Update: 2022-01-27
Check out my updated hardware revision in the following post:
Building an ESPHome environmental multi-sensor